ze_best_korea
Overview
Section titled “Overview”This map has something for everyone. Long defenses, short defenses, traps, surfs, bosses, and even some tight timings. It requires an experienced leader for the best outcome, team coordination, and quick attention swapping from objective to objective. It is best suited for teams where a majority of players have a moderate or above understanding of ZE fundementals.
Difficulty
Section titled “Difficulty”Rating: Medium
While this map has some very difficult sections, when working together with a coordinated team many difficult holds can be maintained indefinitely while longer triggers are being completed. The hardest parts of this map can also be mitigated by over-defending certain positions to skip more difficult mechanics/defenses.
Stages
Section titled “Stages”Act 1 - The Promised Land
Section titled “Act 1 - The Promised Land”
Act 1 - The Promised Land
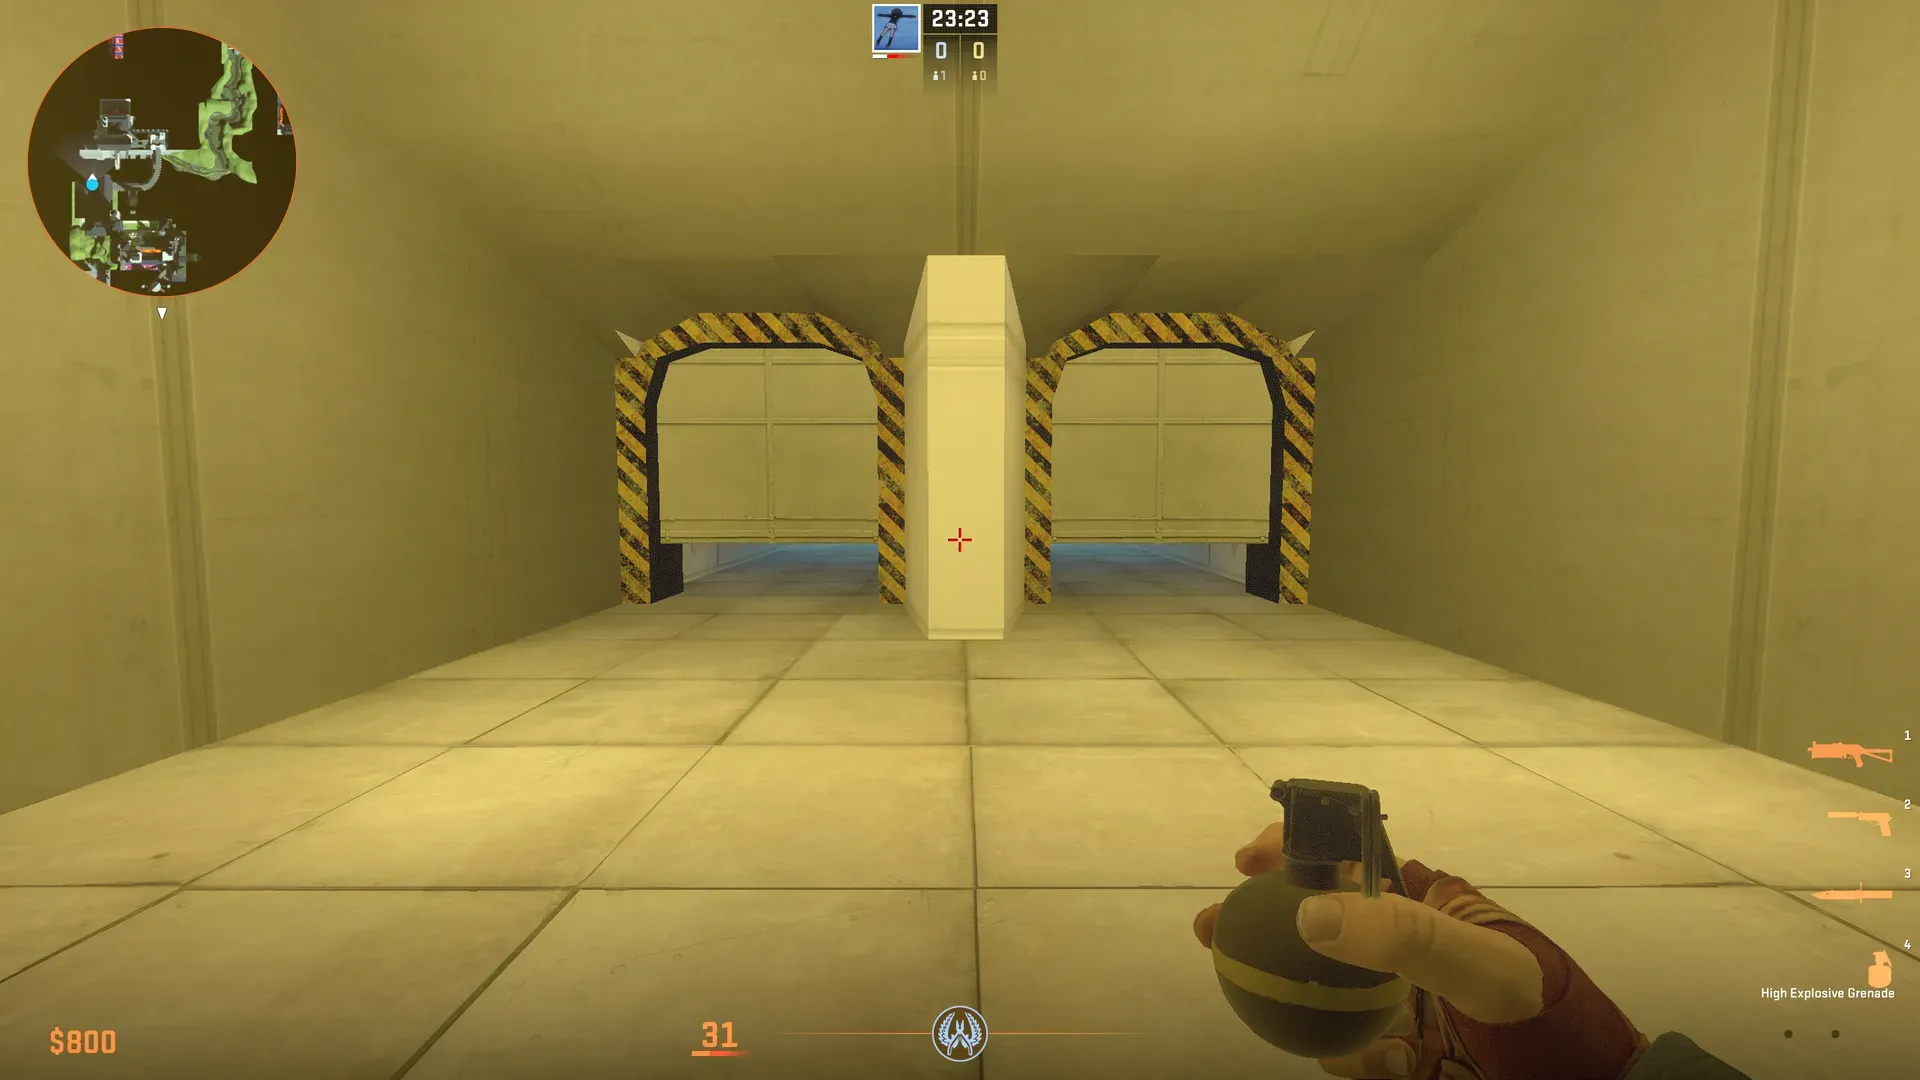
Section titled “Act 1 - The Promised Land”Grassy Section
Section titled “Grassy Section”
Grassy Section
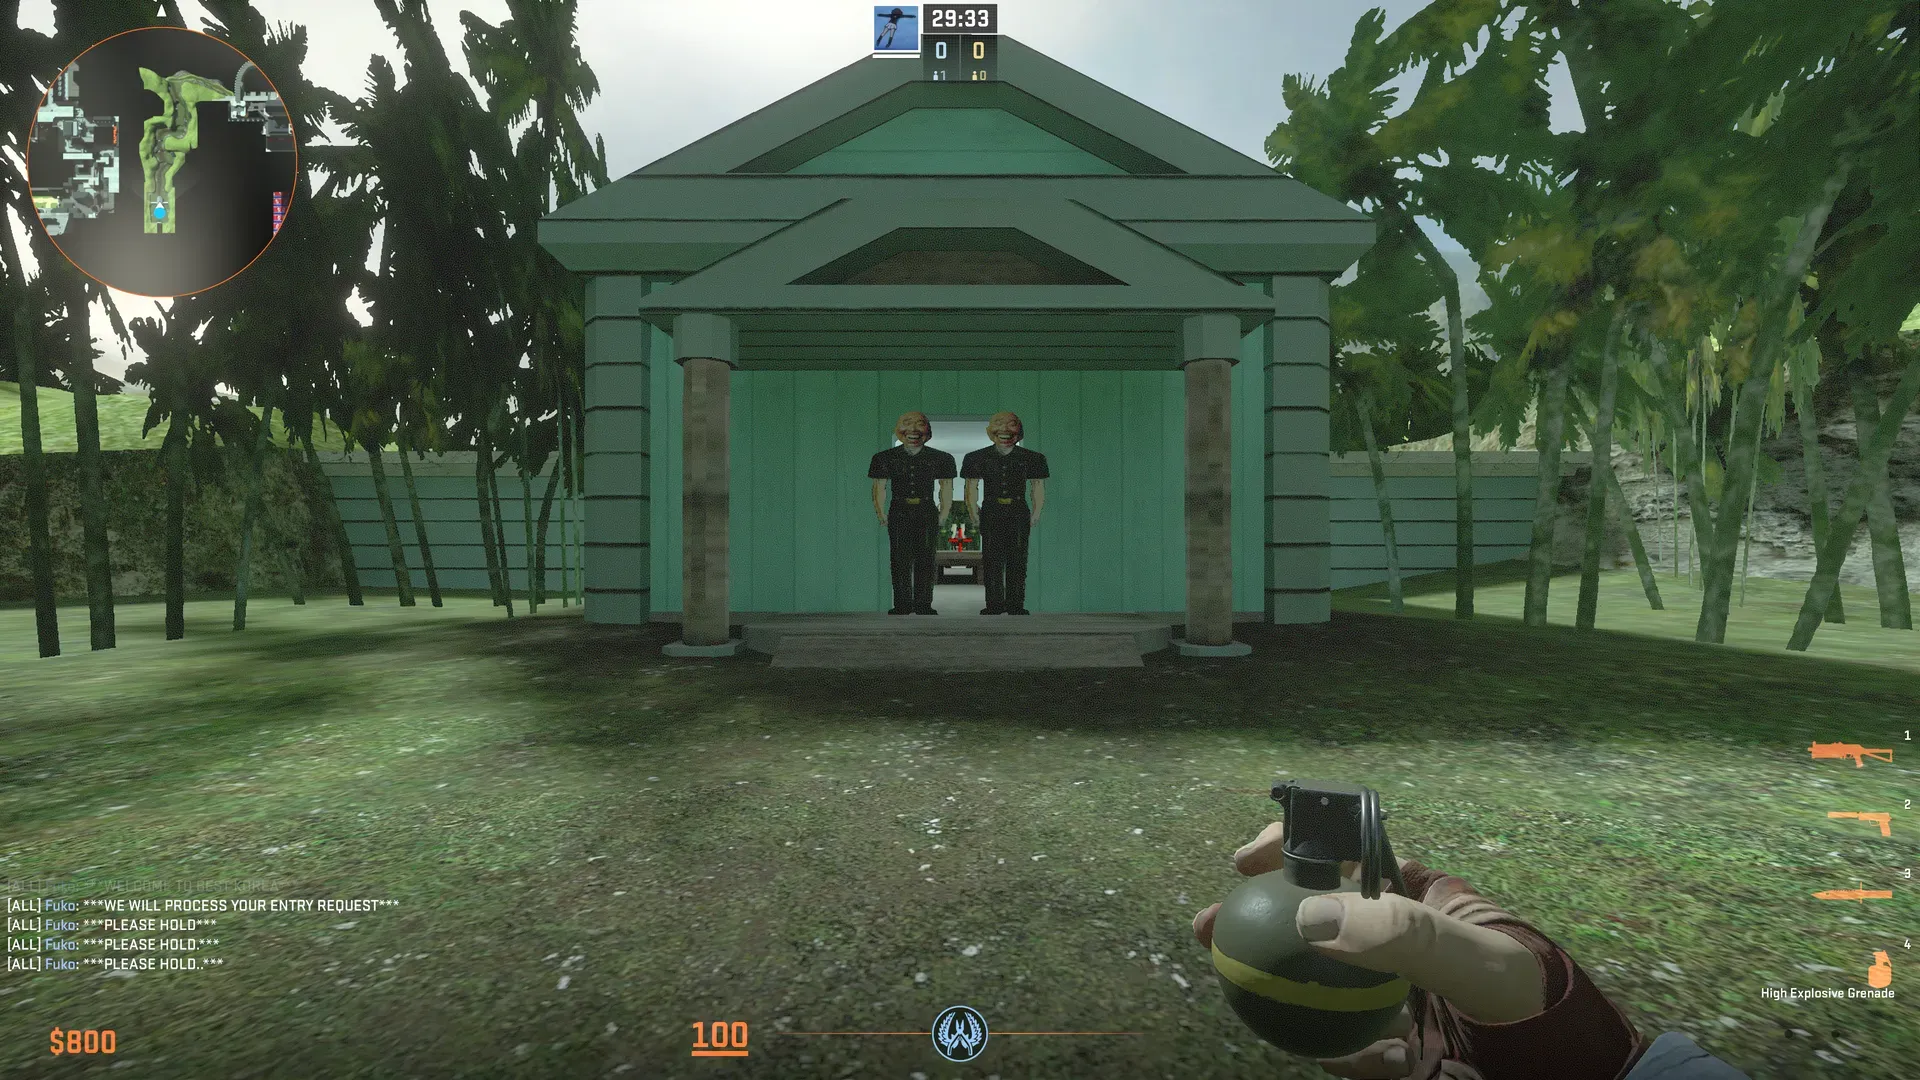
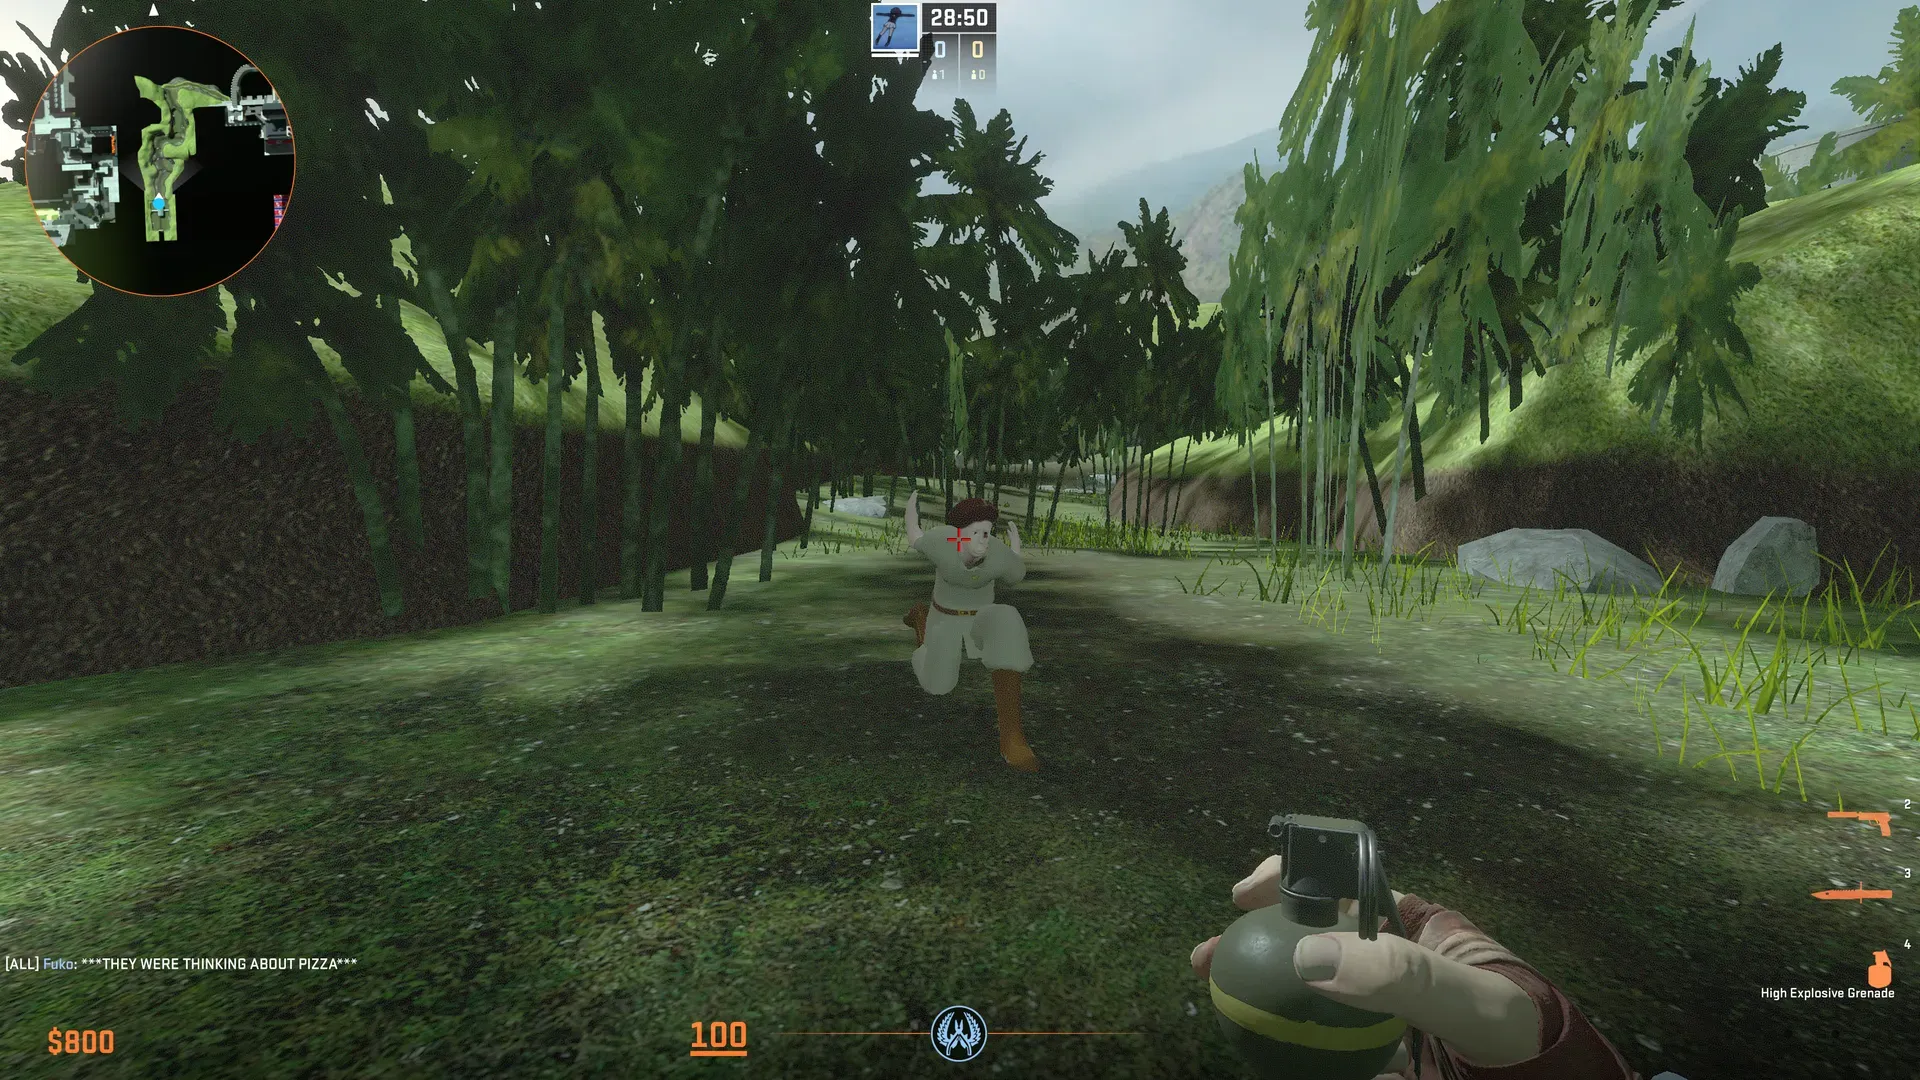
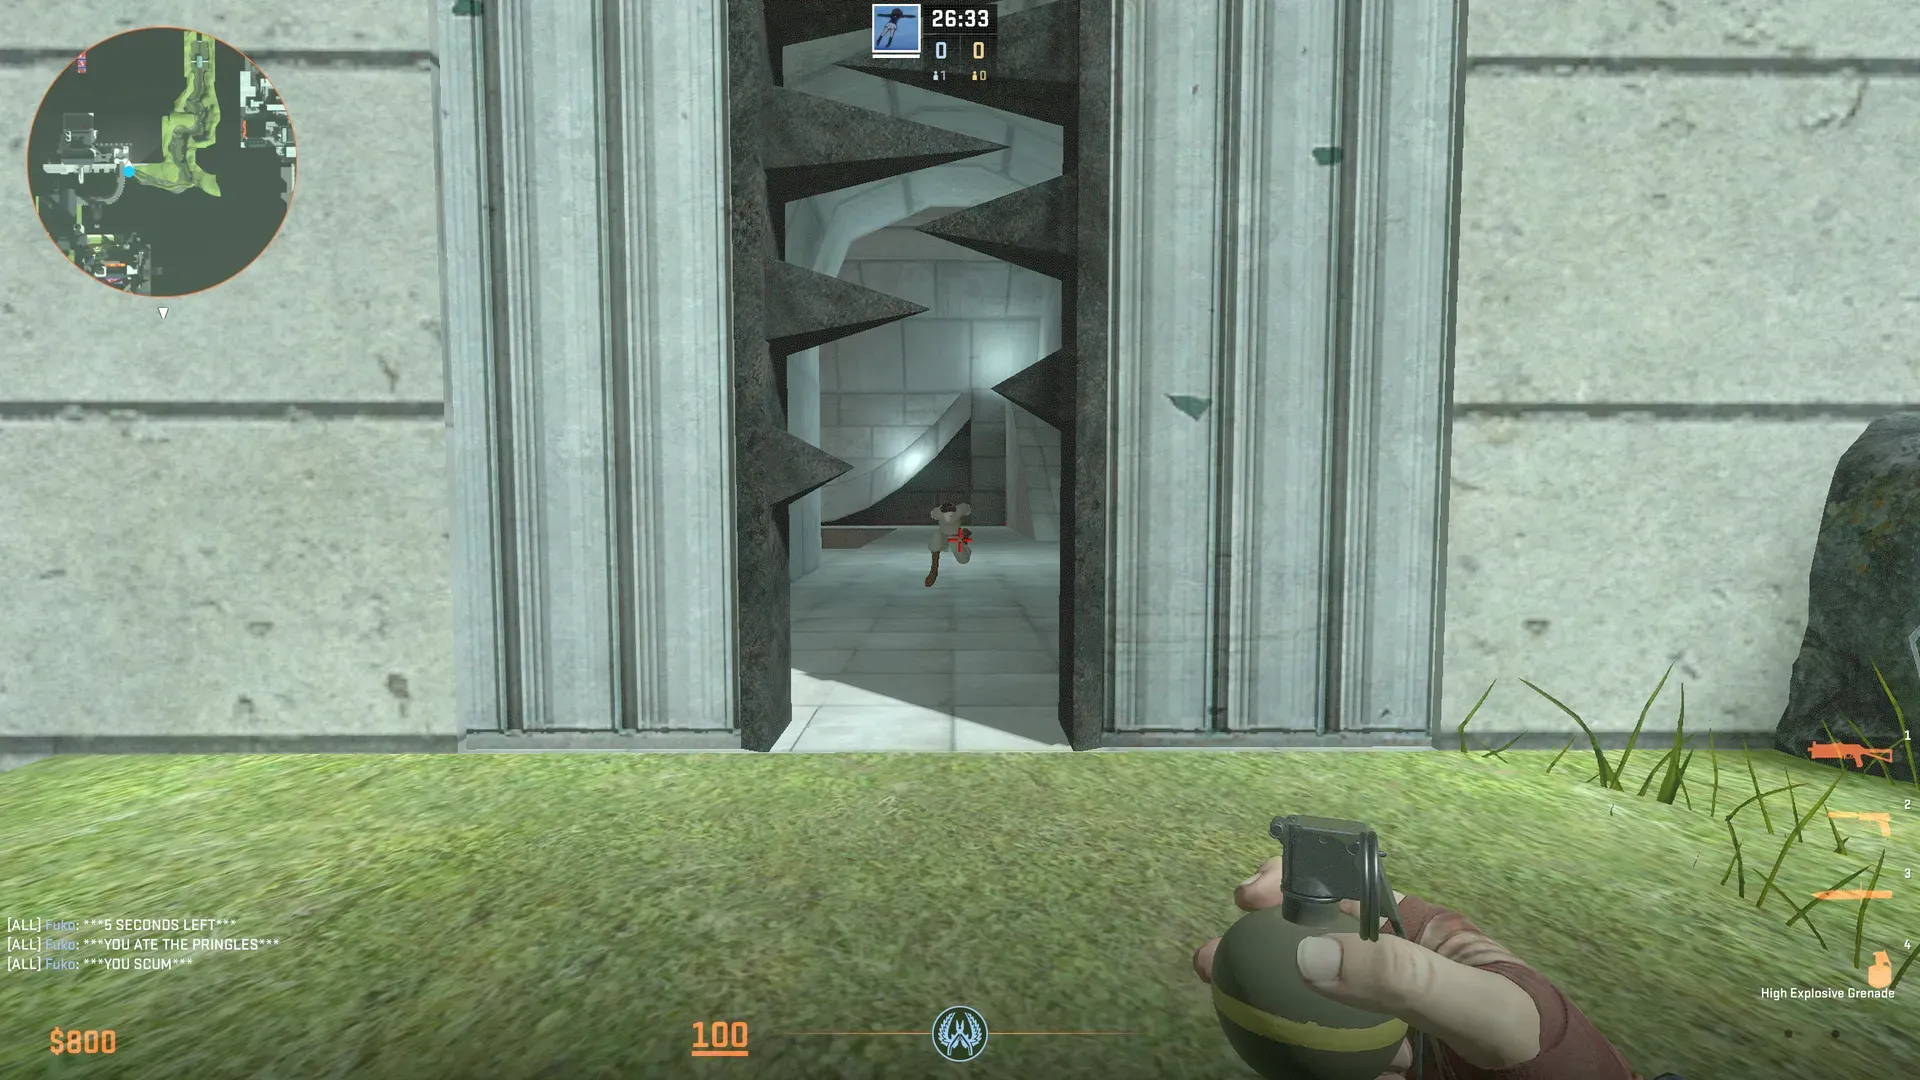
Section titled “Grassy Section”Humans start in a cave and must run through a house. Simply defend the cave entrance to keep zombies inside until both sets of house doors open.
There is a location on the right and left side of the path back that lets humans and zombies climb on top of the cliff that lines both sides of the path. It is recommended that at least a couple people that know the route defend on top of the cliff sides, in case zombies try to flank from those routes.

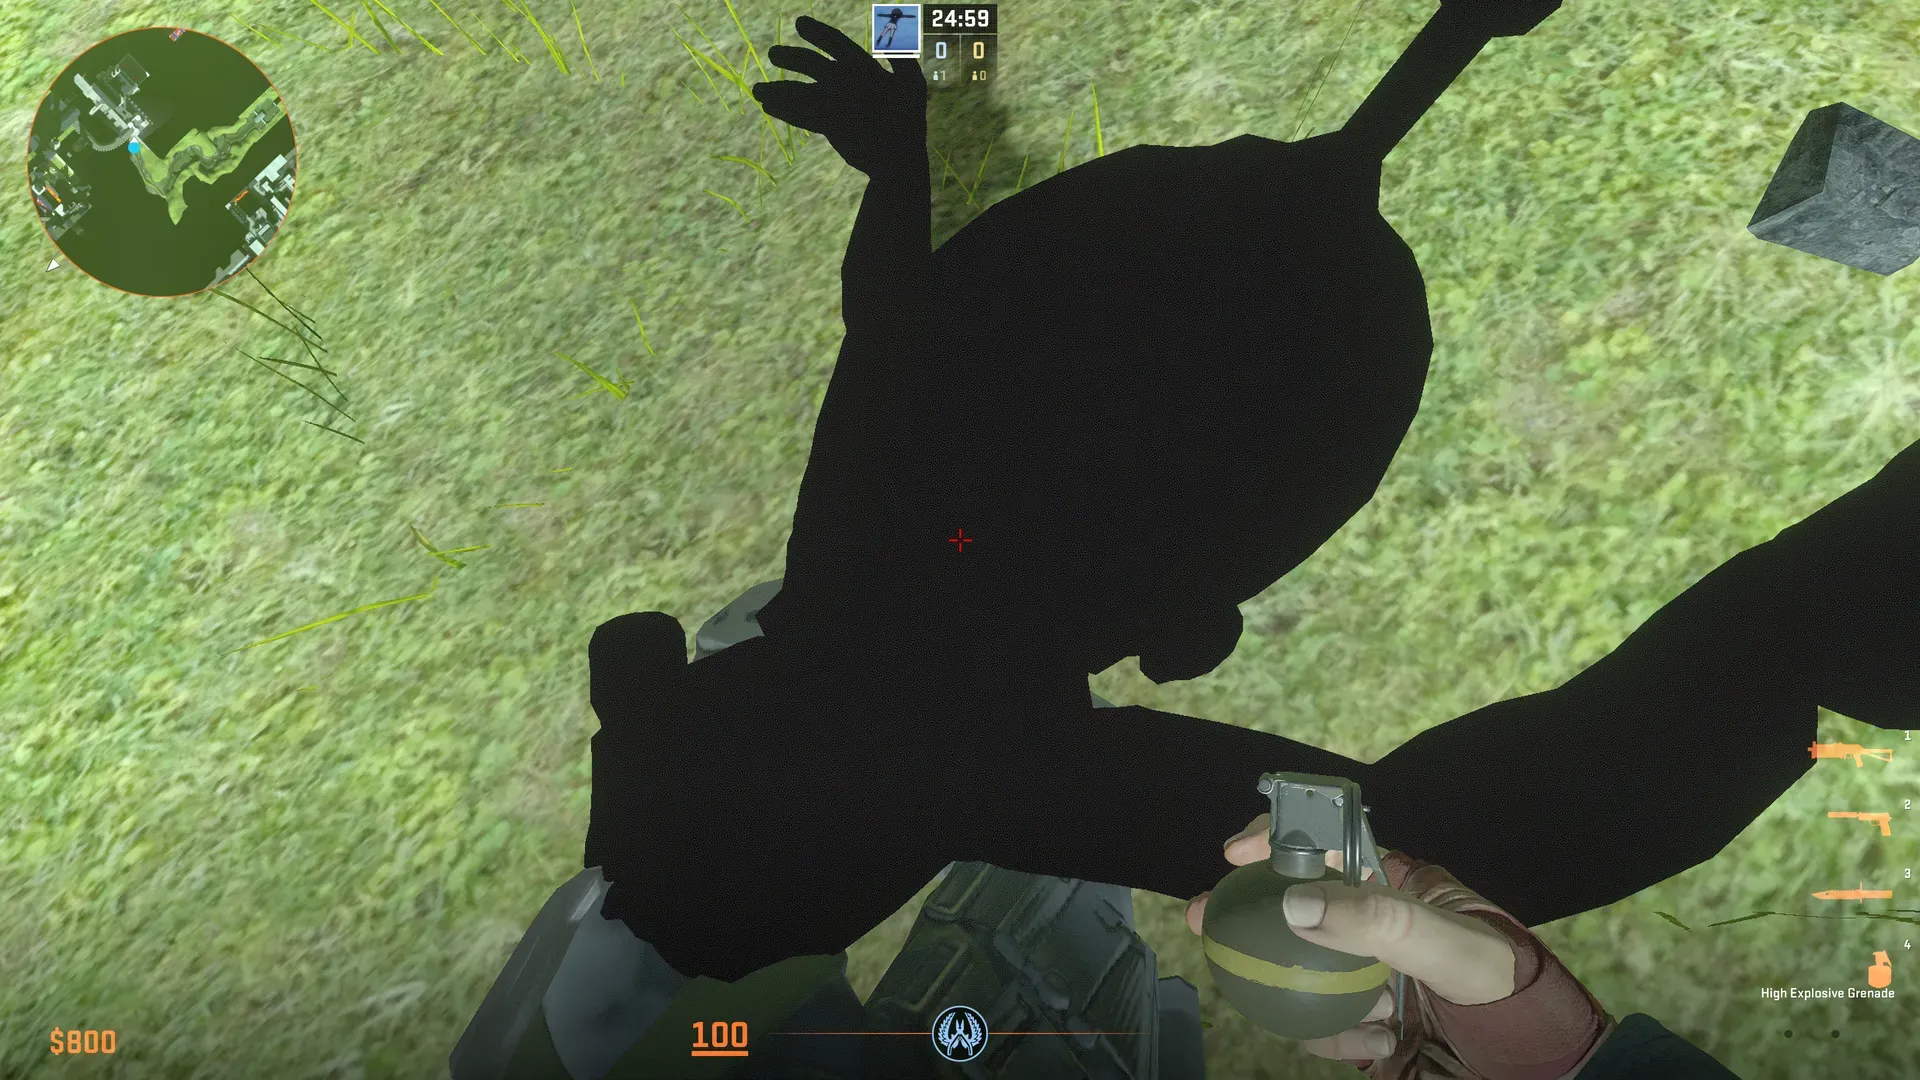
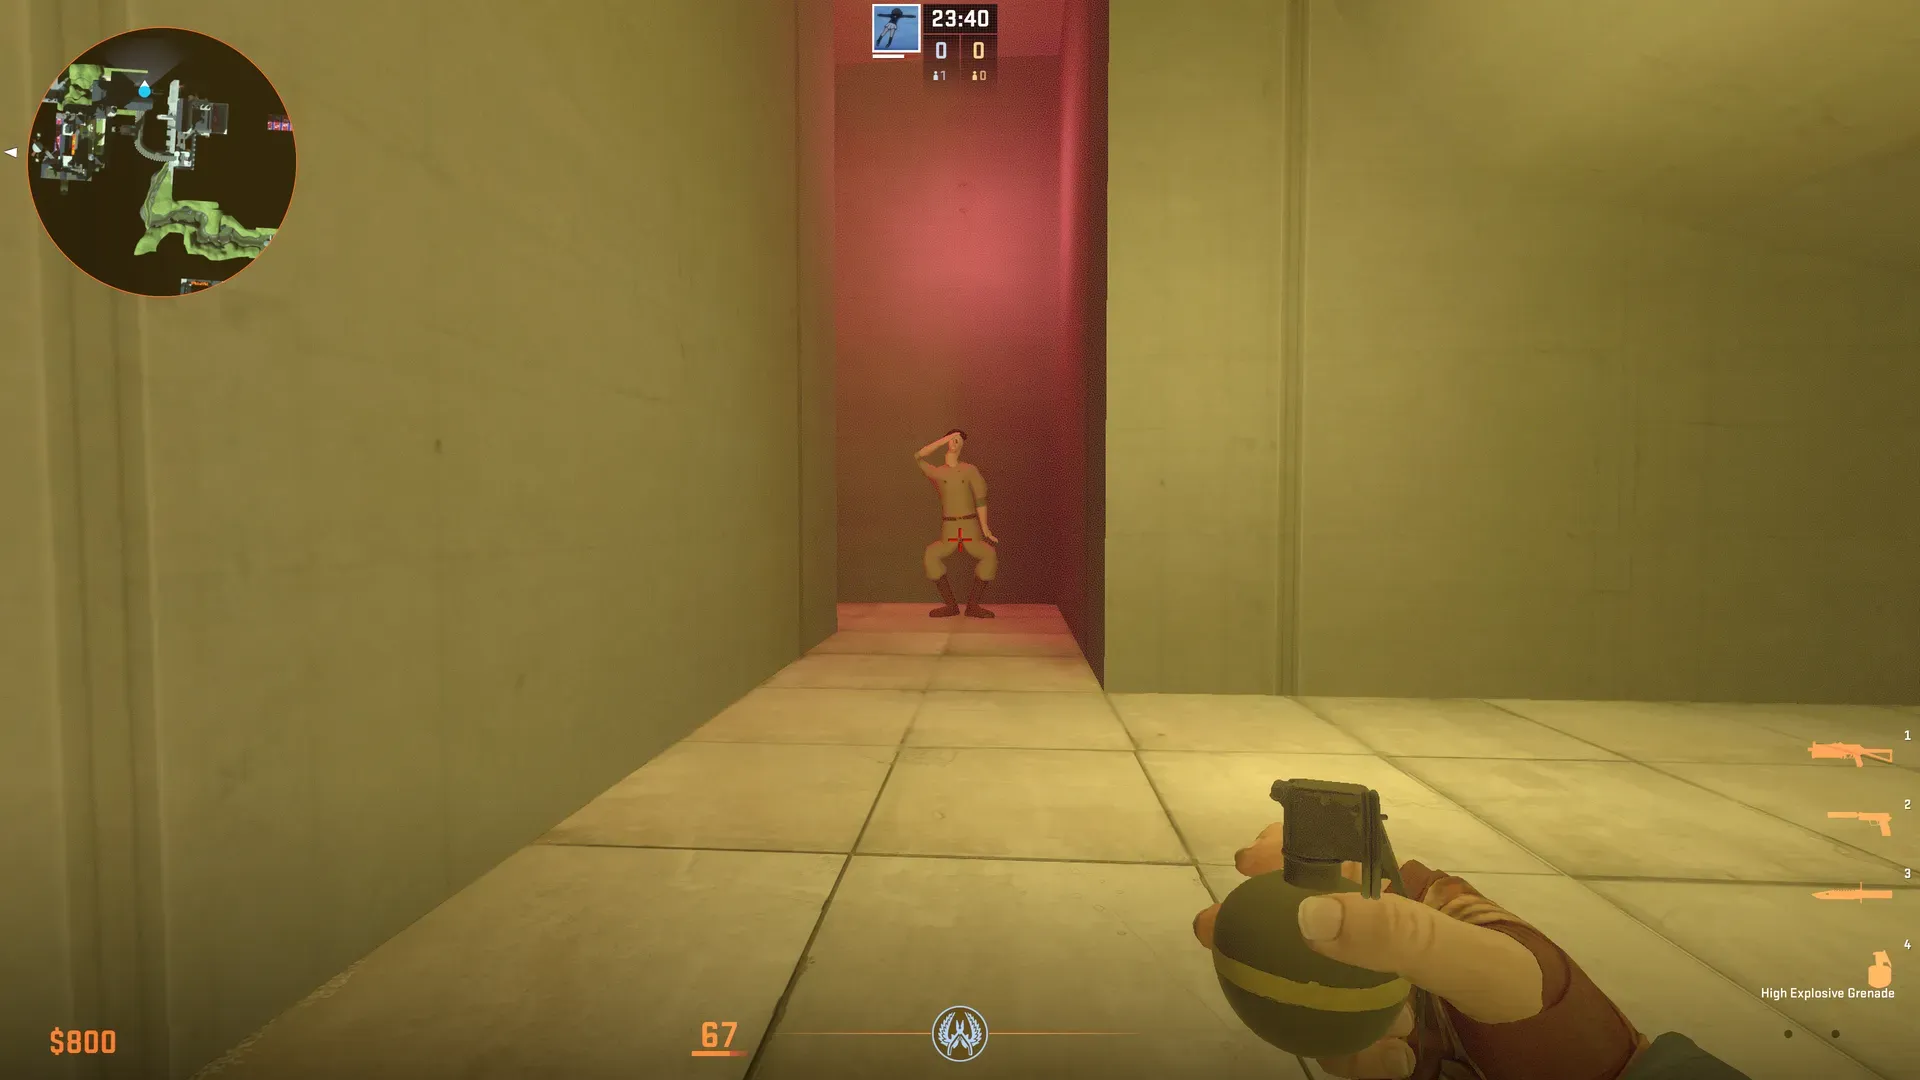
BEWARE!!! You will find the first occurance of the primary NPC found across all stages of this map. Kill it quickly! Otherwise it will damage and knock-back your team.
Humans can get all the way back to the wall at the end of the path. It will open, revealing a jump up to continue forward.
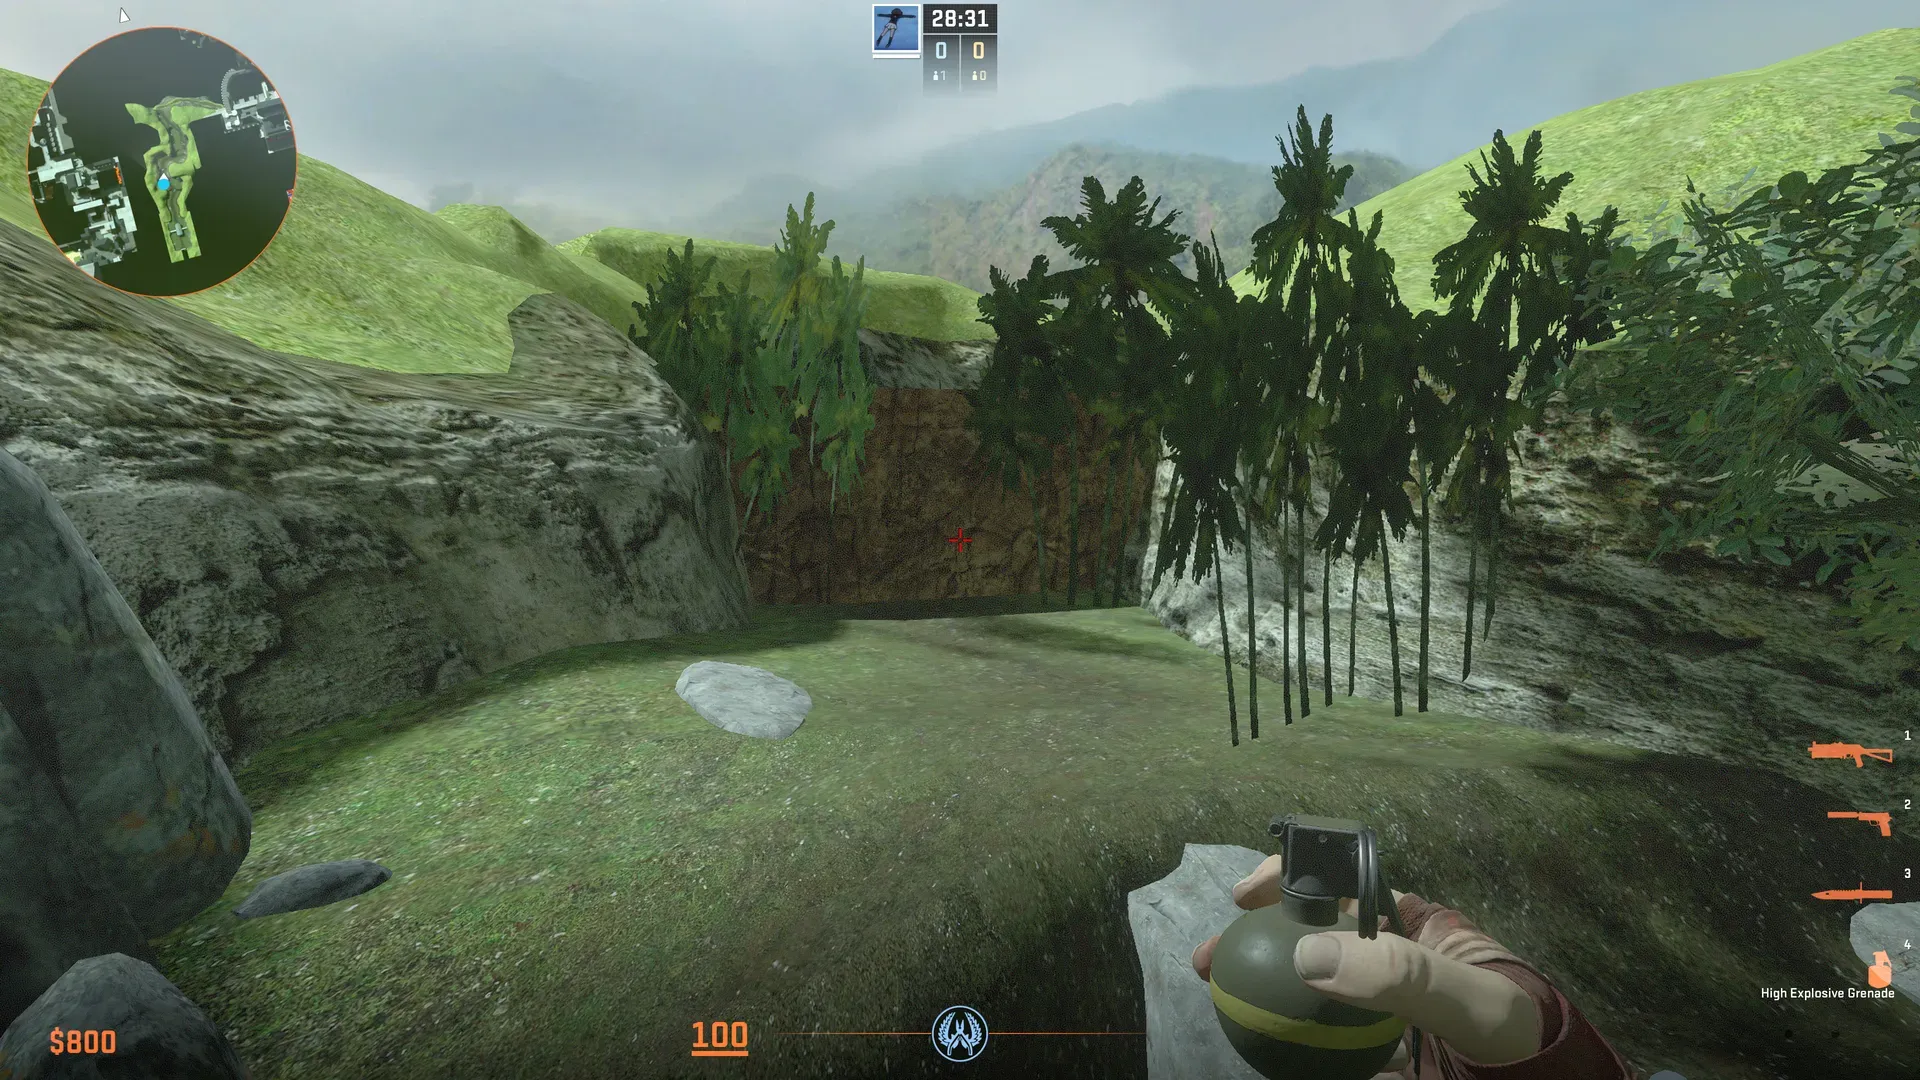
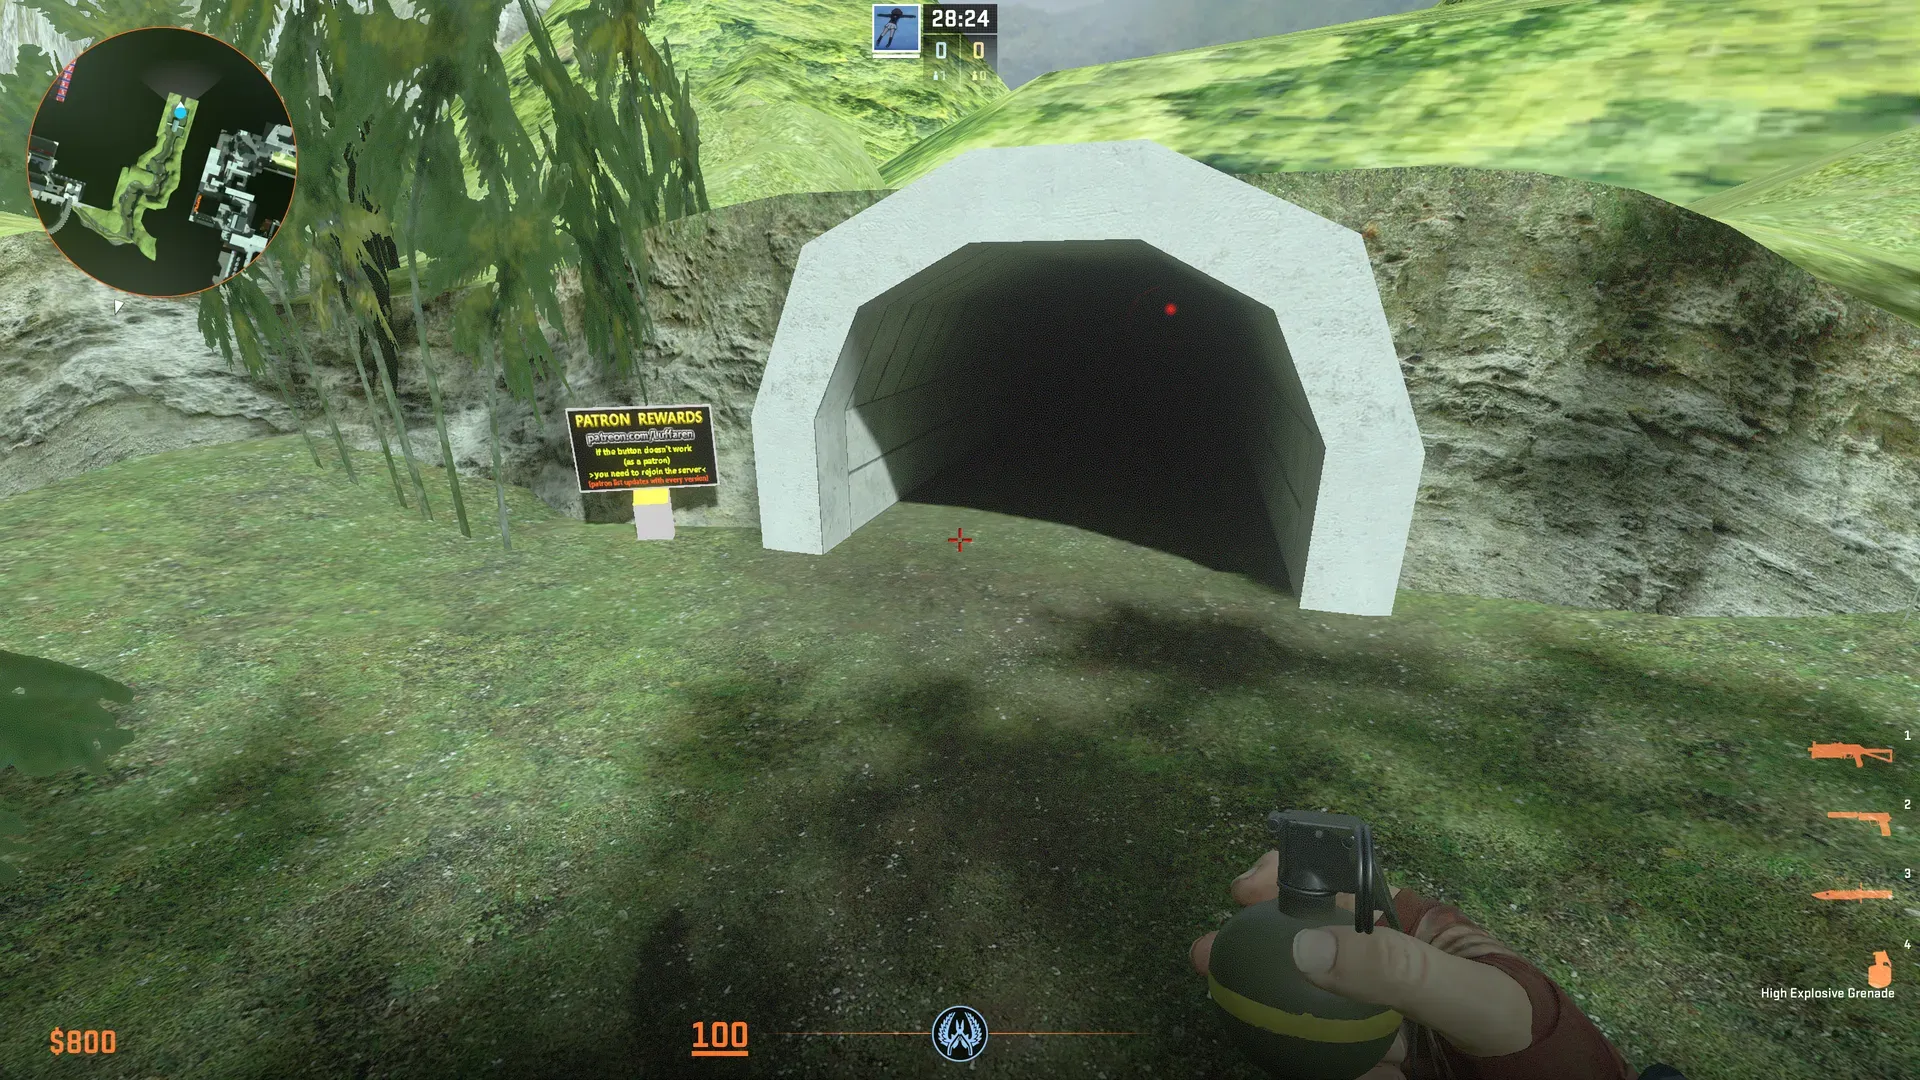
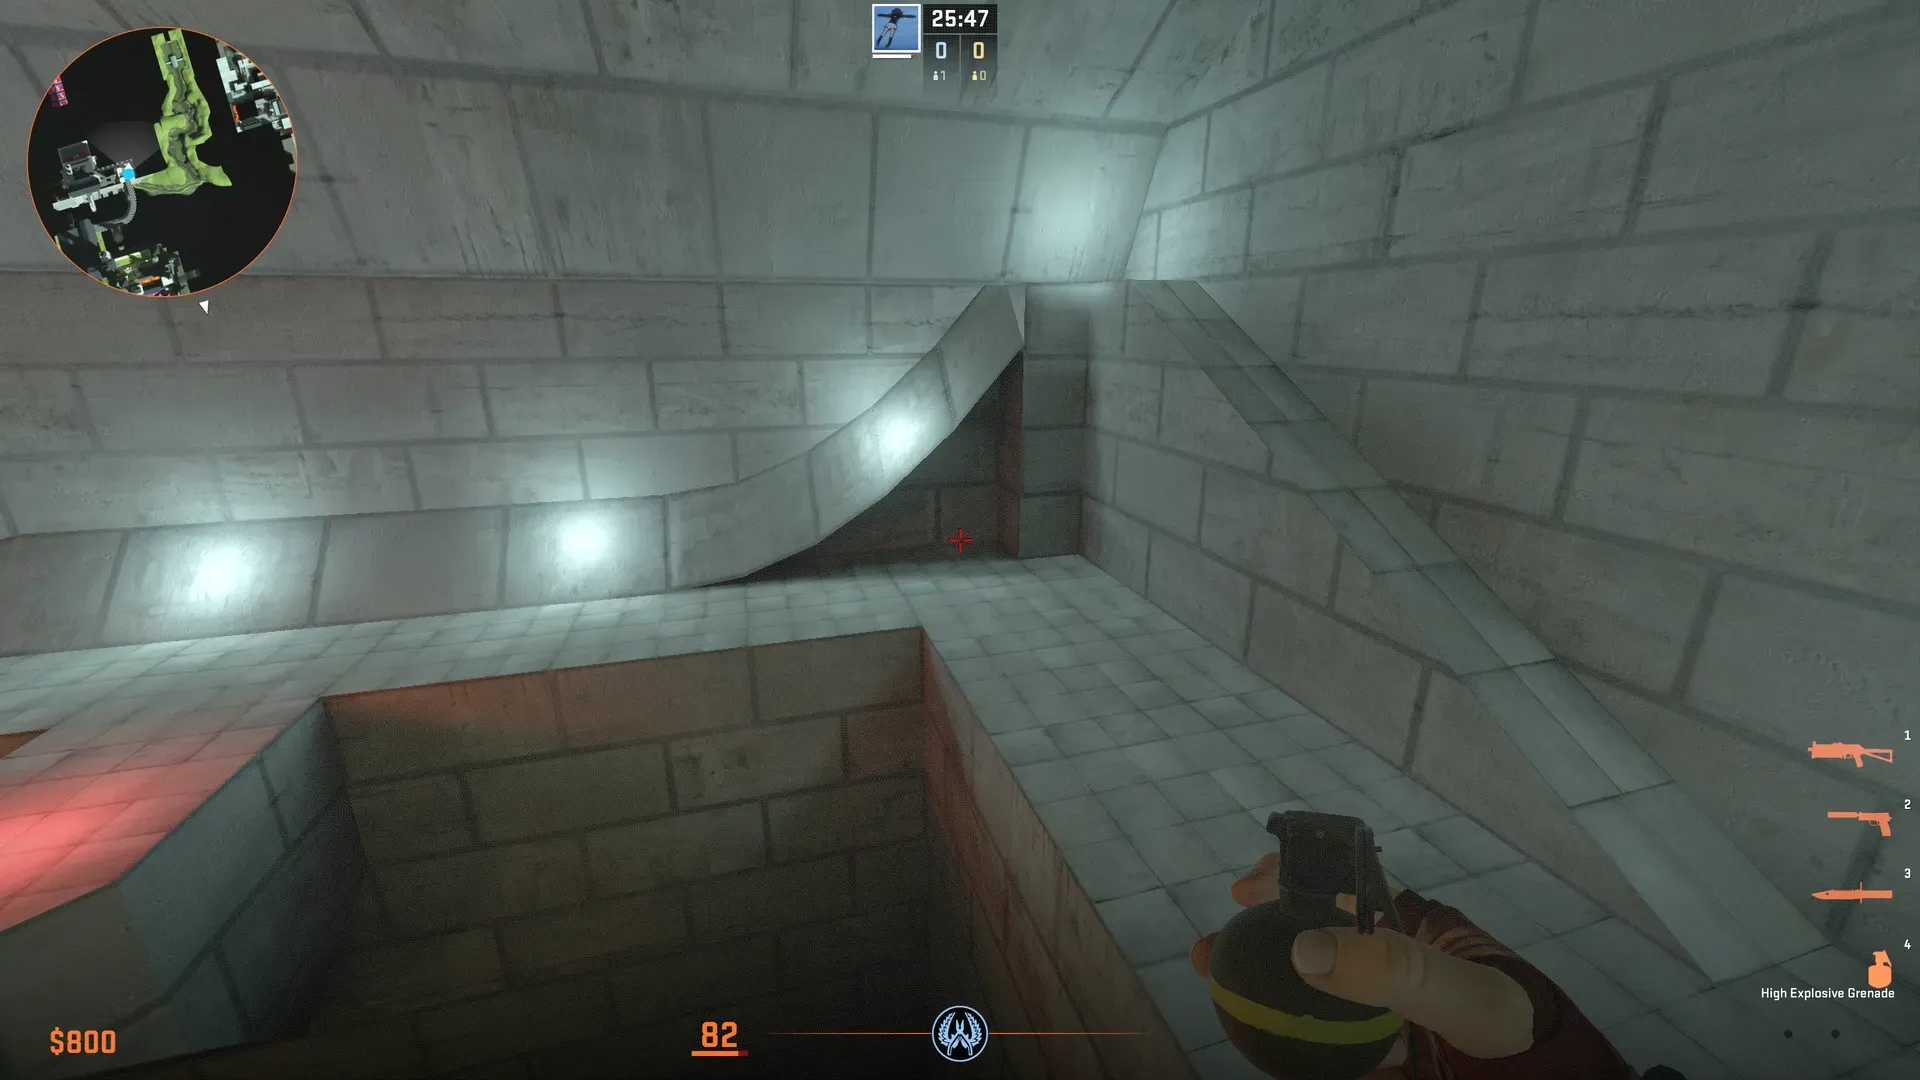
When continuing forward, watch where you’re walking! There are landmines on the ground lining the path that will one-shot you, and deal damage to nearby teammates. Hug the right wall and you will dodge most of them. Make sure you get back quickly to the ramp and defend at the top. There will be another NPC you must kill. The wall behind the ramp will open to reveal the rest of the grassy section.
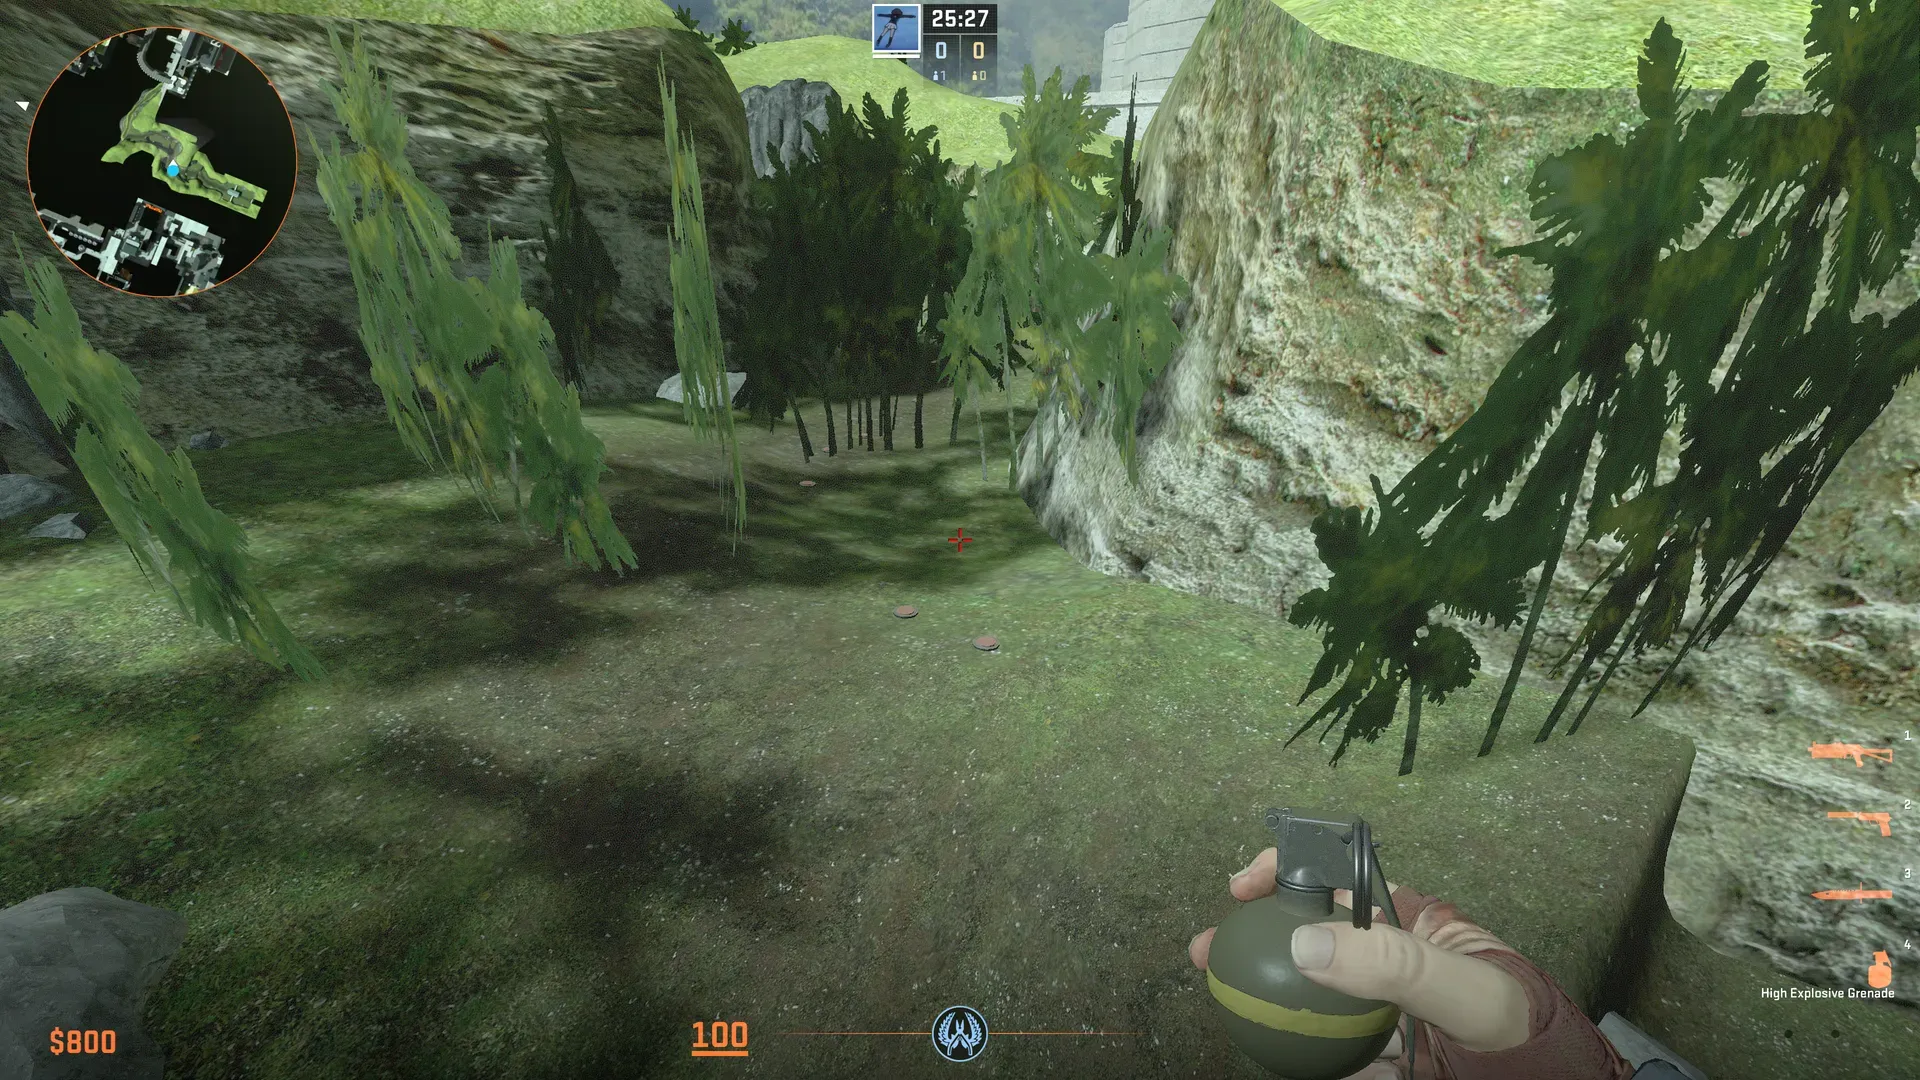
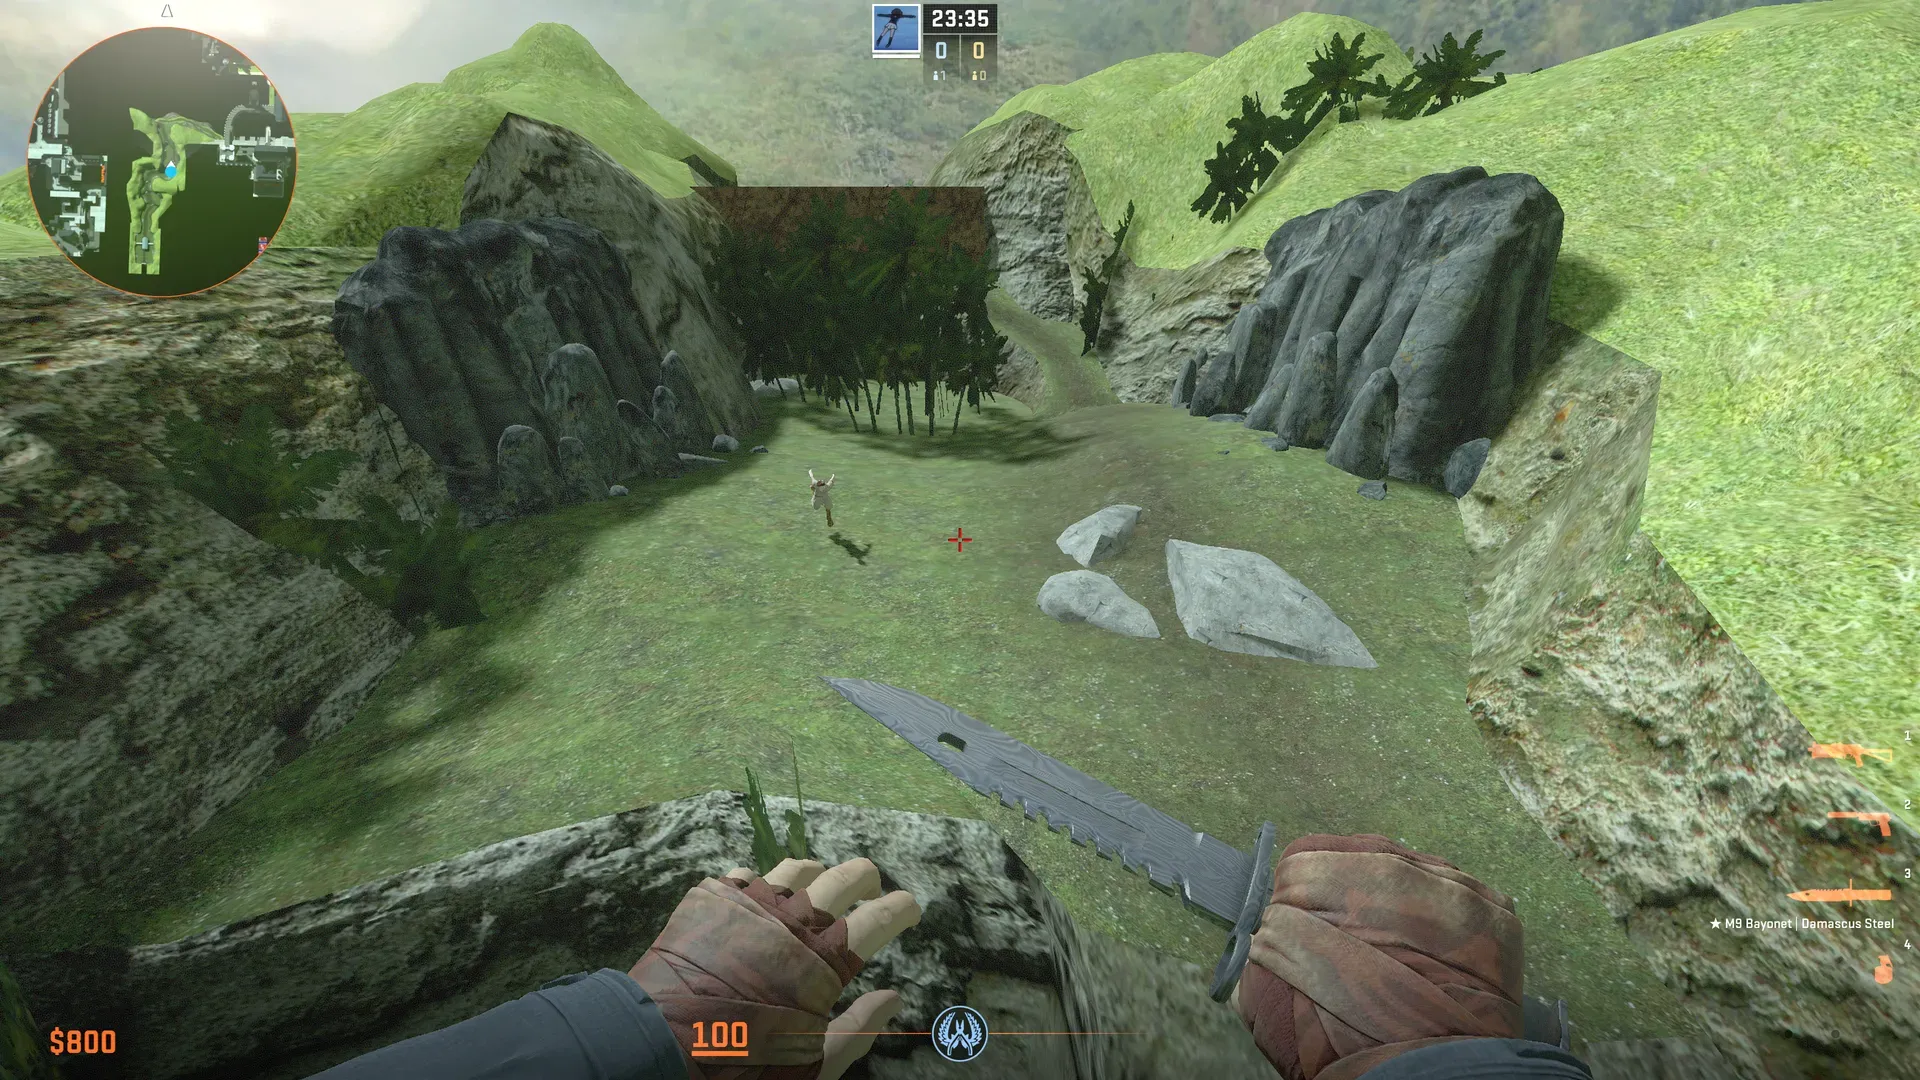
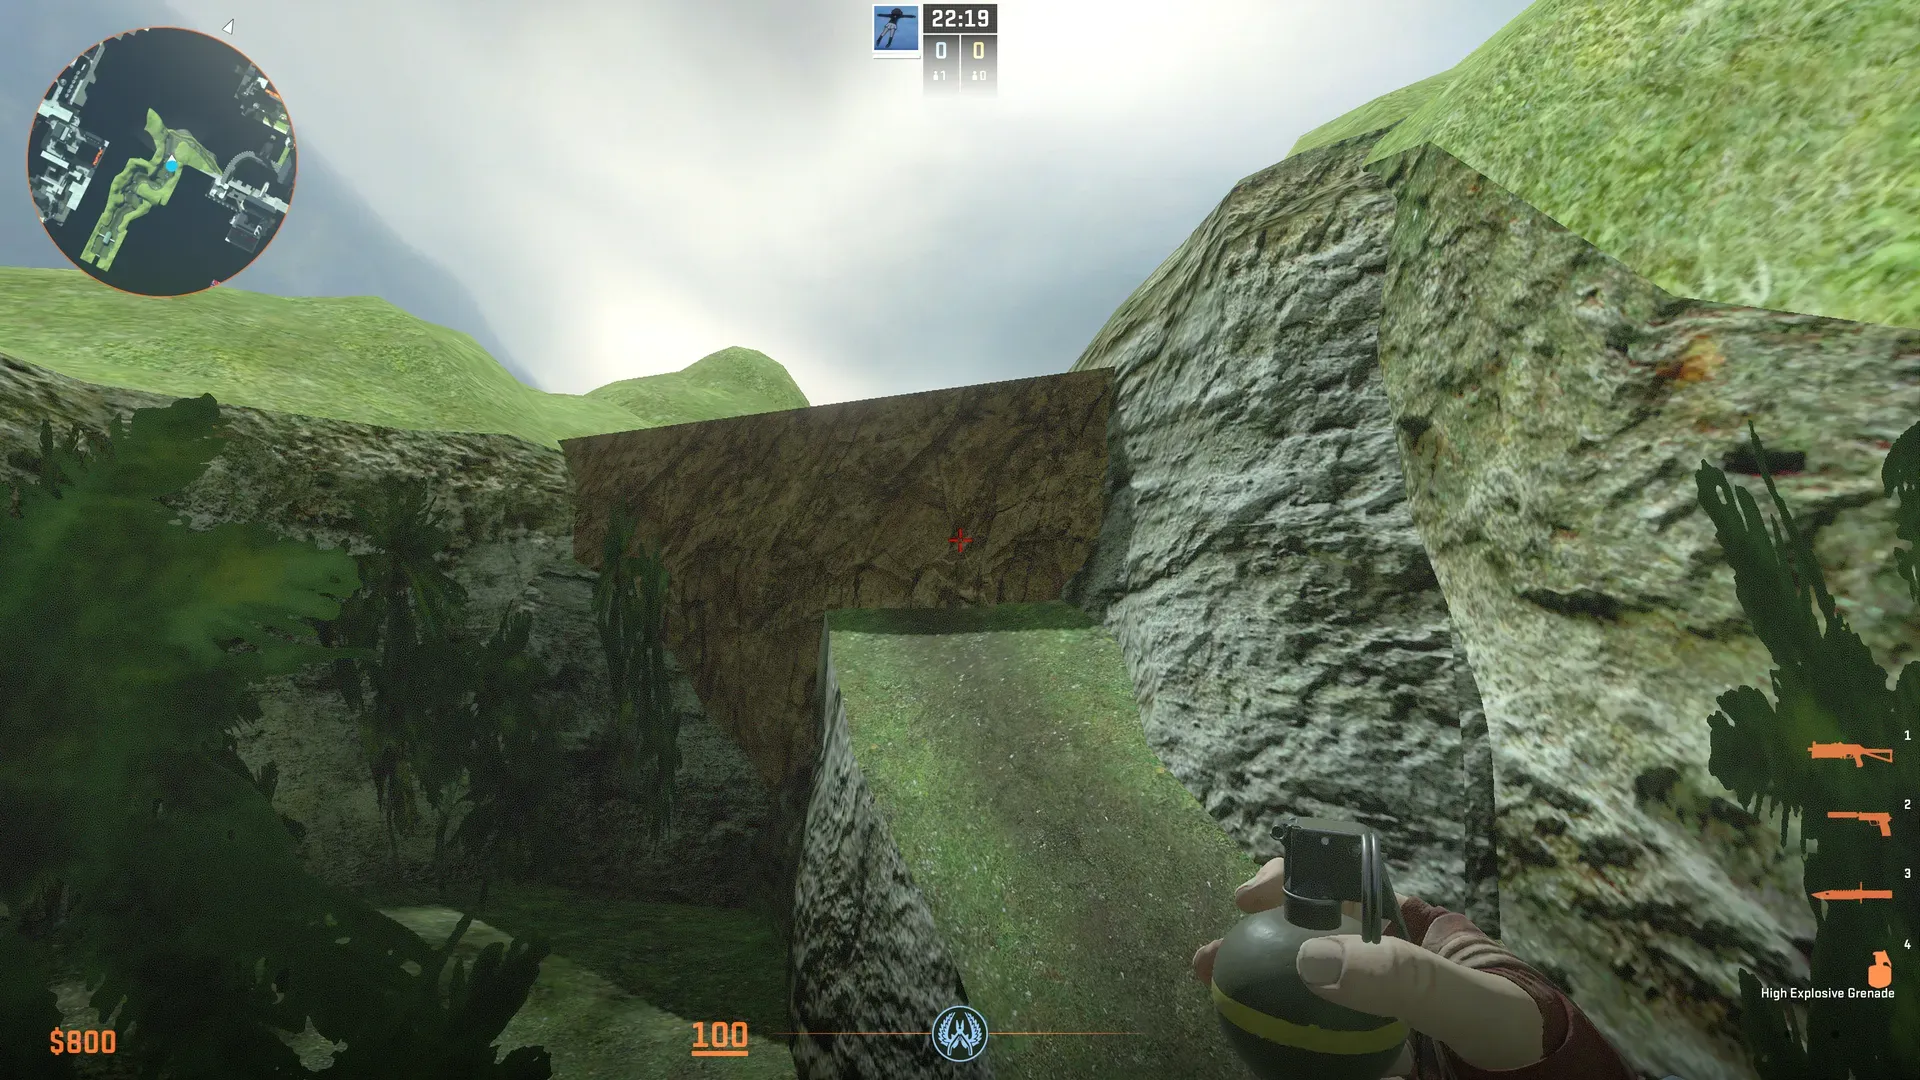
When the wall opens there will be more landmines. Continue hugging the right side to dodge most of them. If you continue running, You will encounter a Cliff jumped down and to the right to continue following the path. Defenders should jump down and back up enough so that zombies do not land on top of them from the cliff above. Have a handful of people run back to trigger because there will be an new NPC they need to kill.
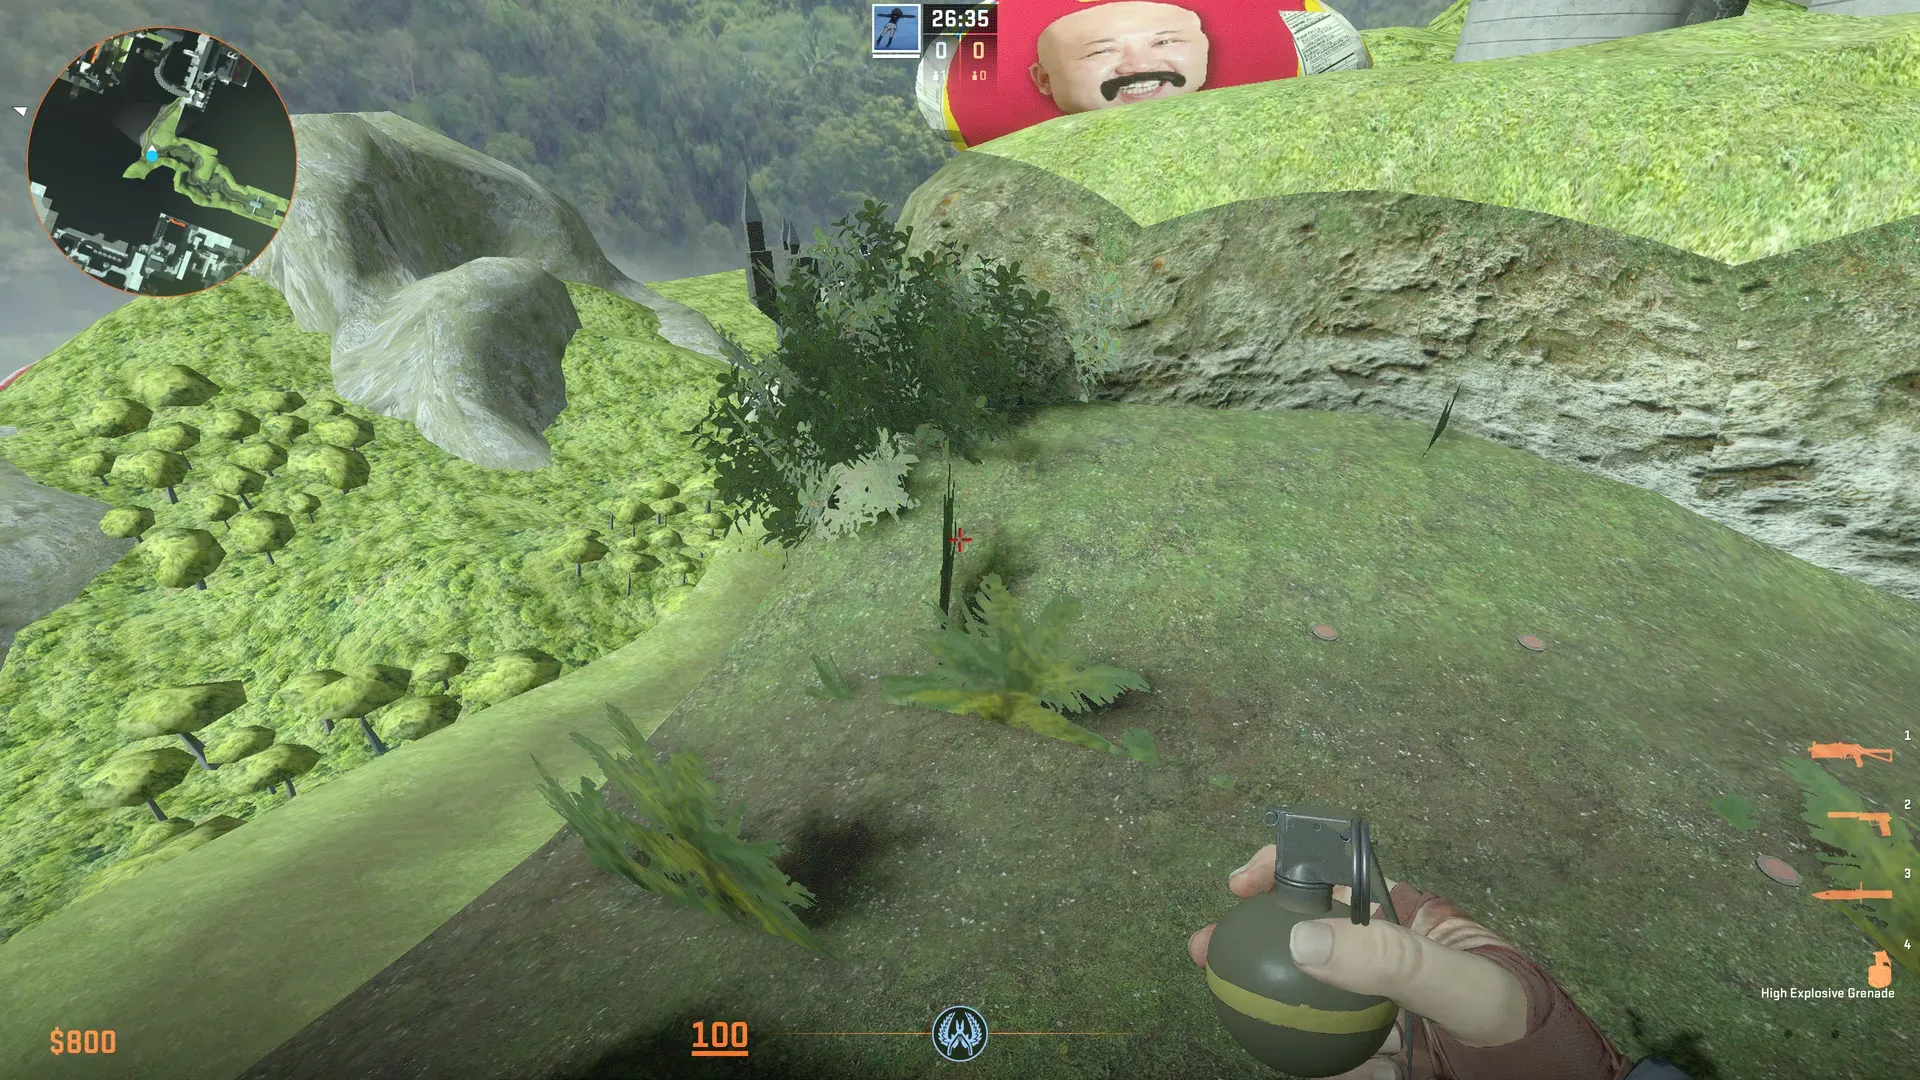
The new NPC takes the form of a baby, which will track the nearest player and attach to them, at which point a count down will start. If it isn’t killed in time, the baby explodes, killing the player it is attached to. Humans must shoot the baby on the attached player to kill it.
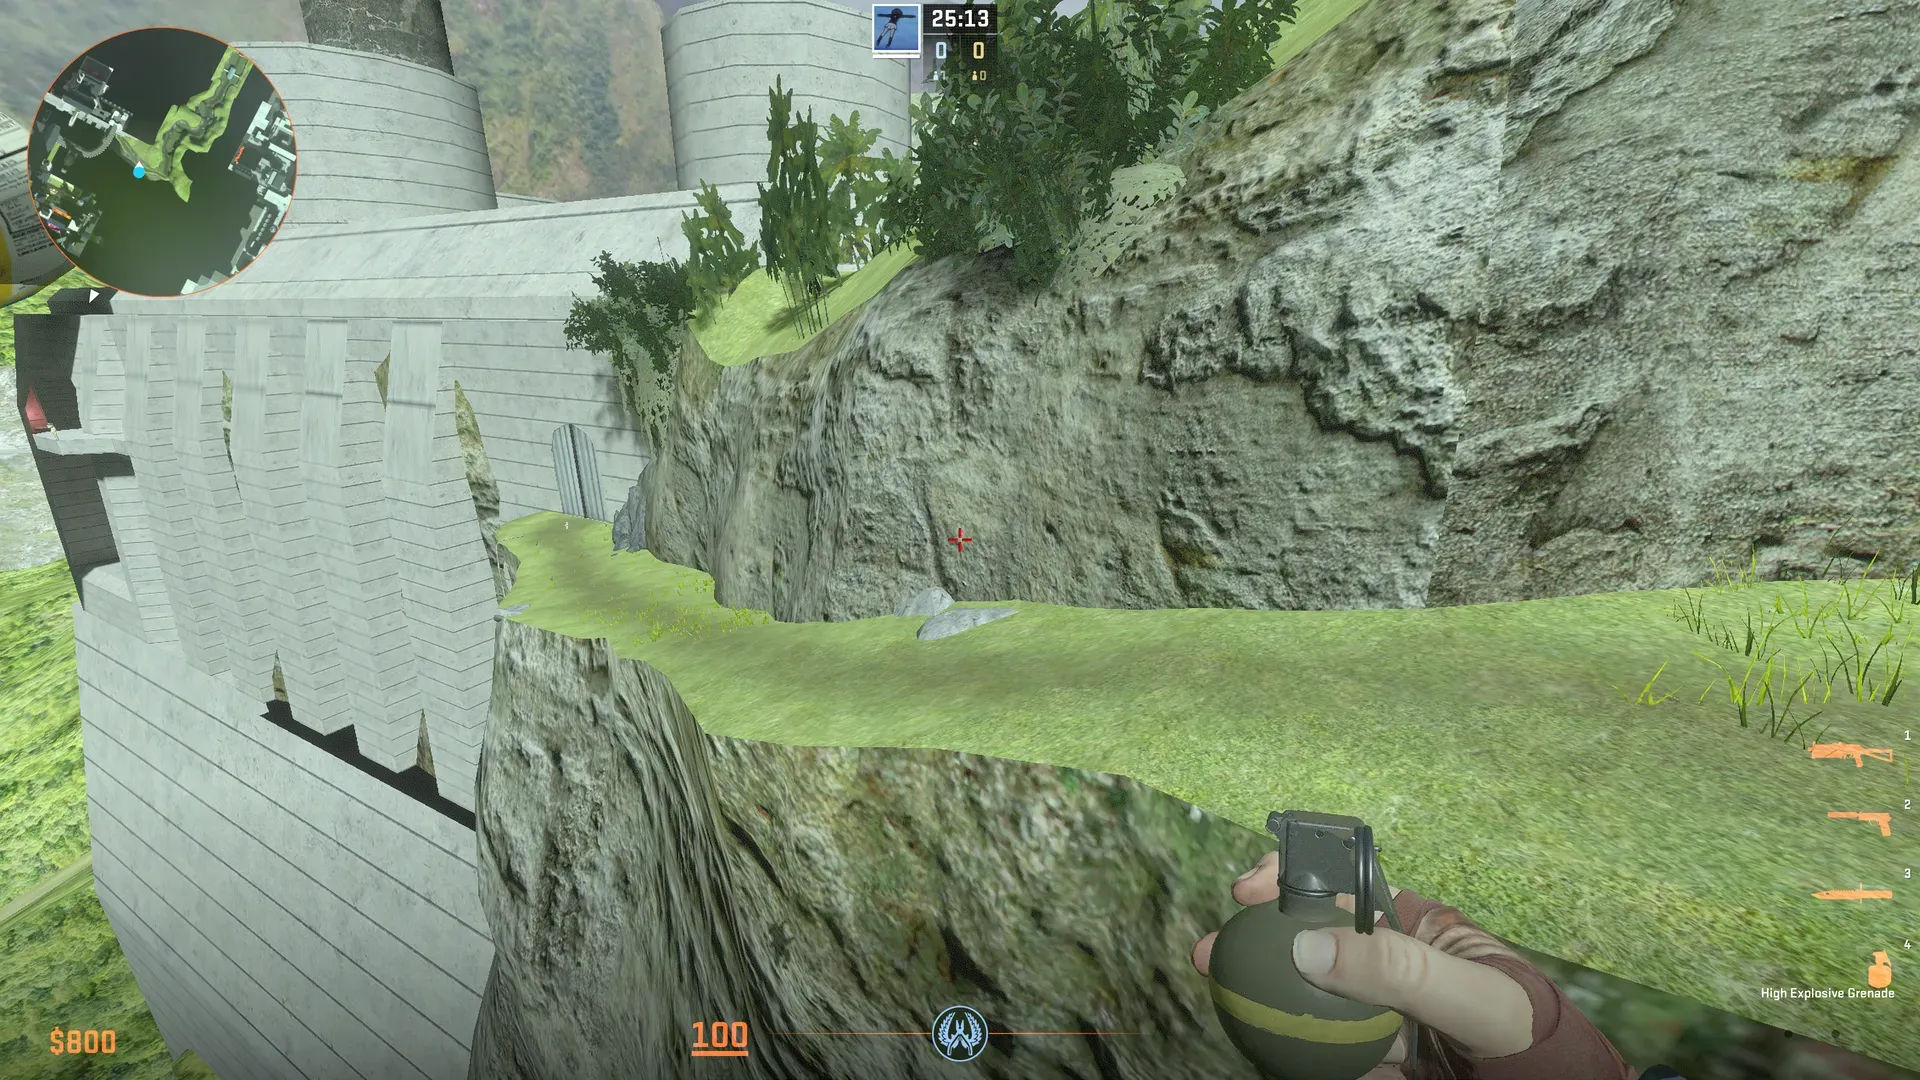
Once there is about 15 seconds left to the door opening defenders should run back so that they do not get caught in a zombie teleport. Make sure to not door hug because an NPC will run out of the door and knock you off of the cliff. Kill this NPC quickly so that you can safely enter the next section.
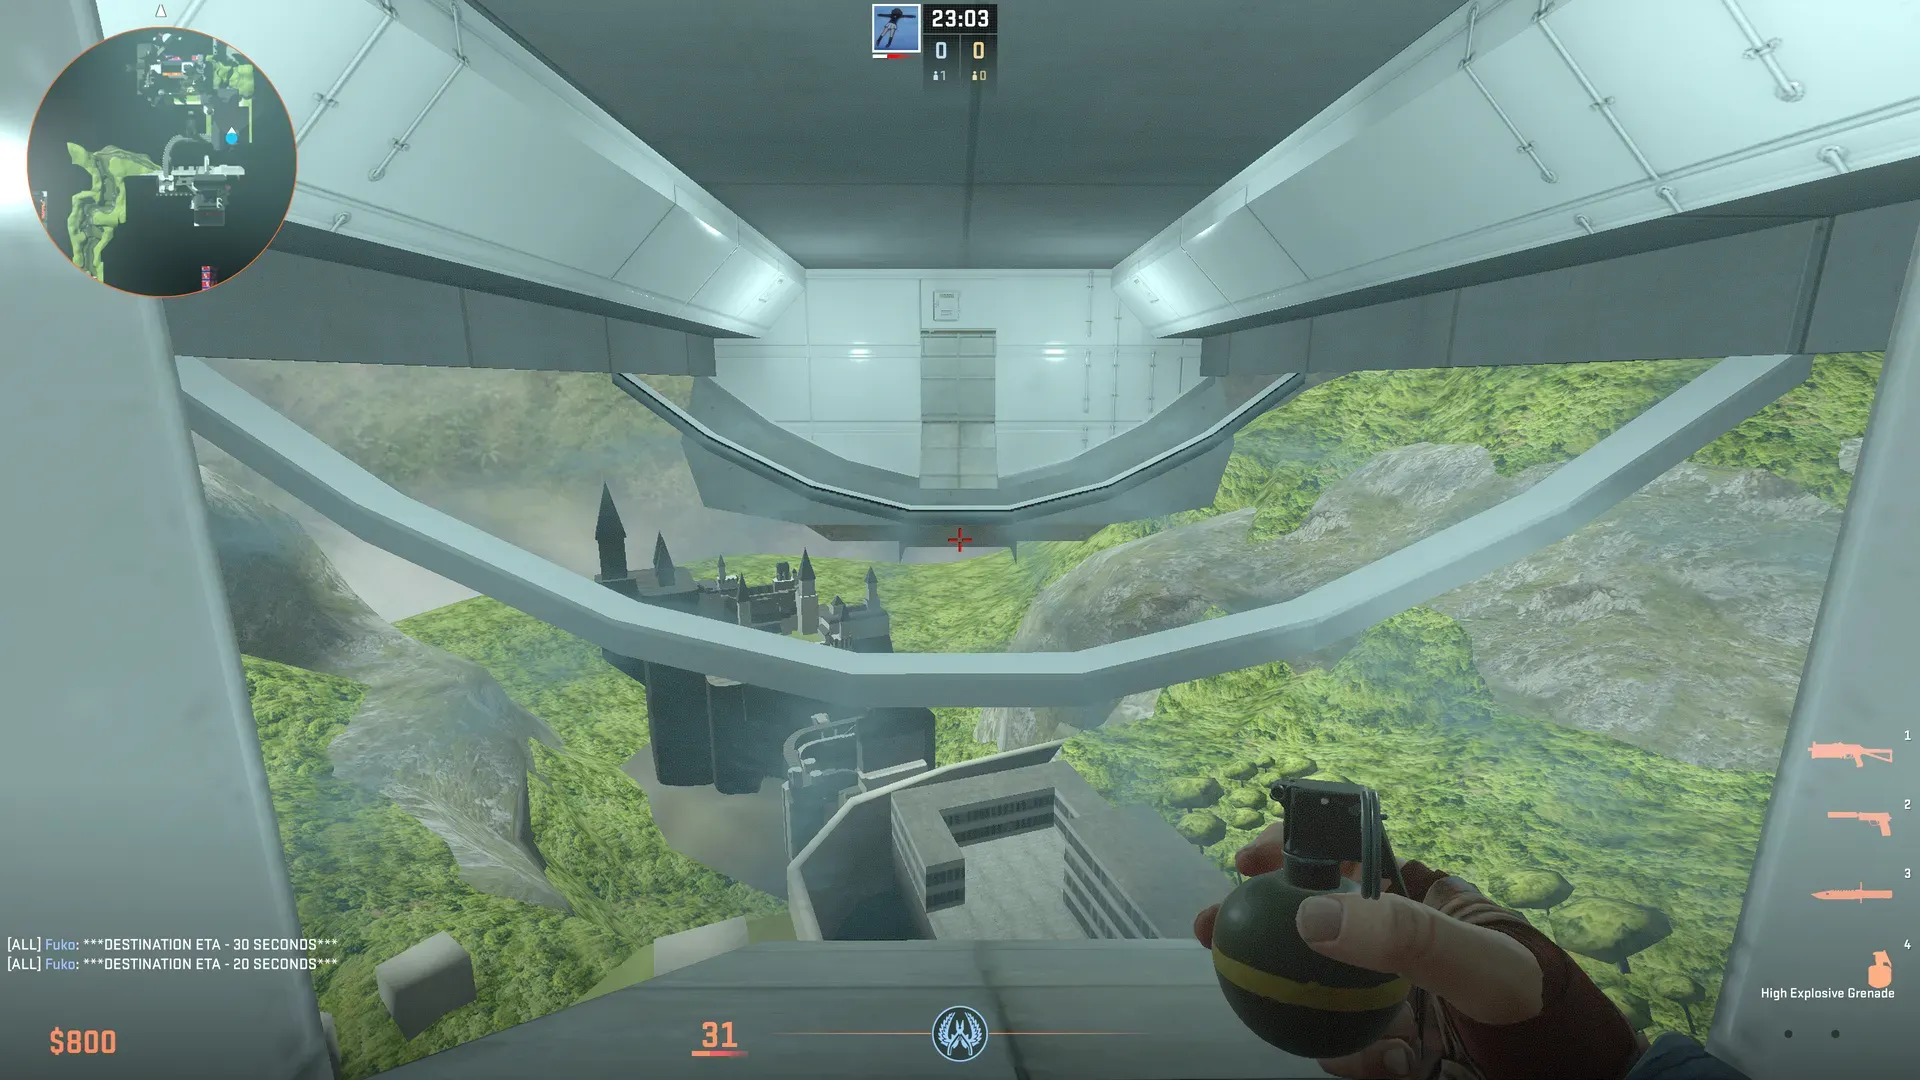
Concrete/Indoor section
Section titled “Concrete/Indoor section”
Concrete/Indoor section
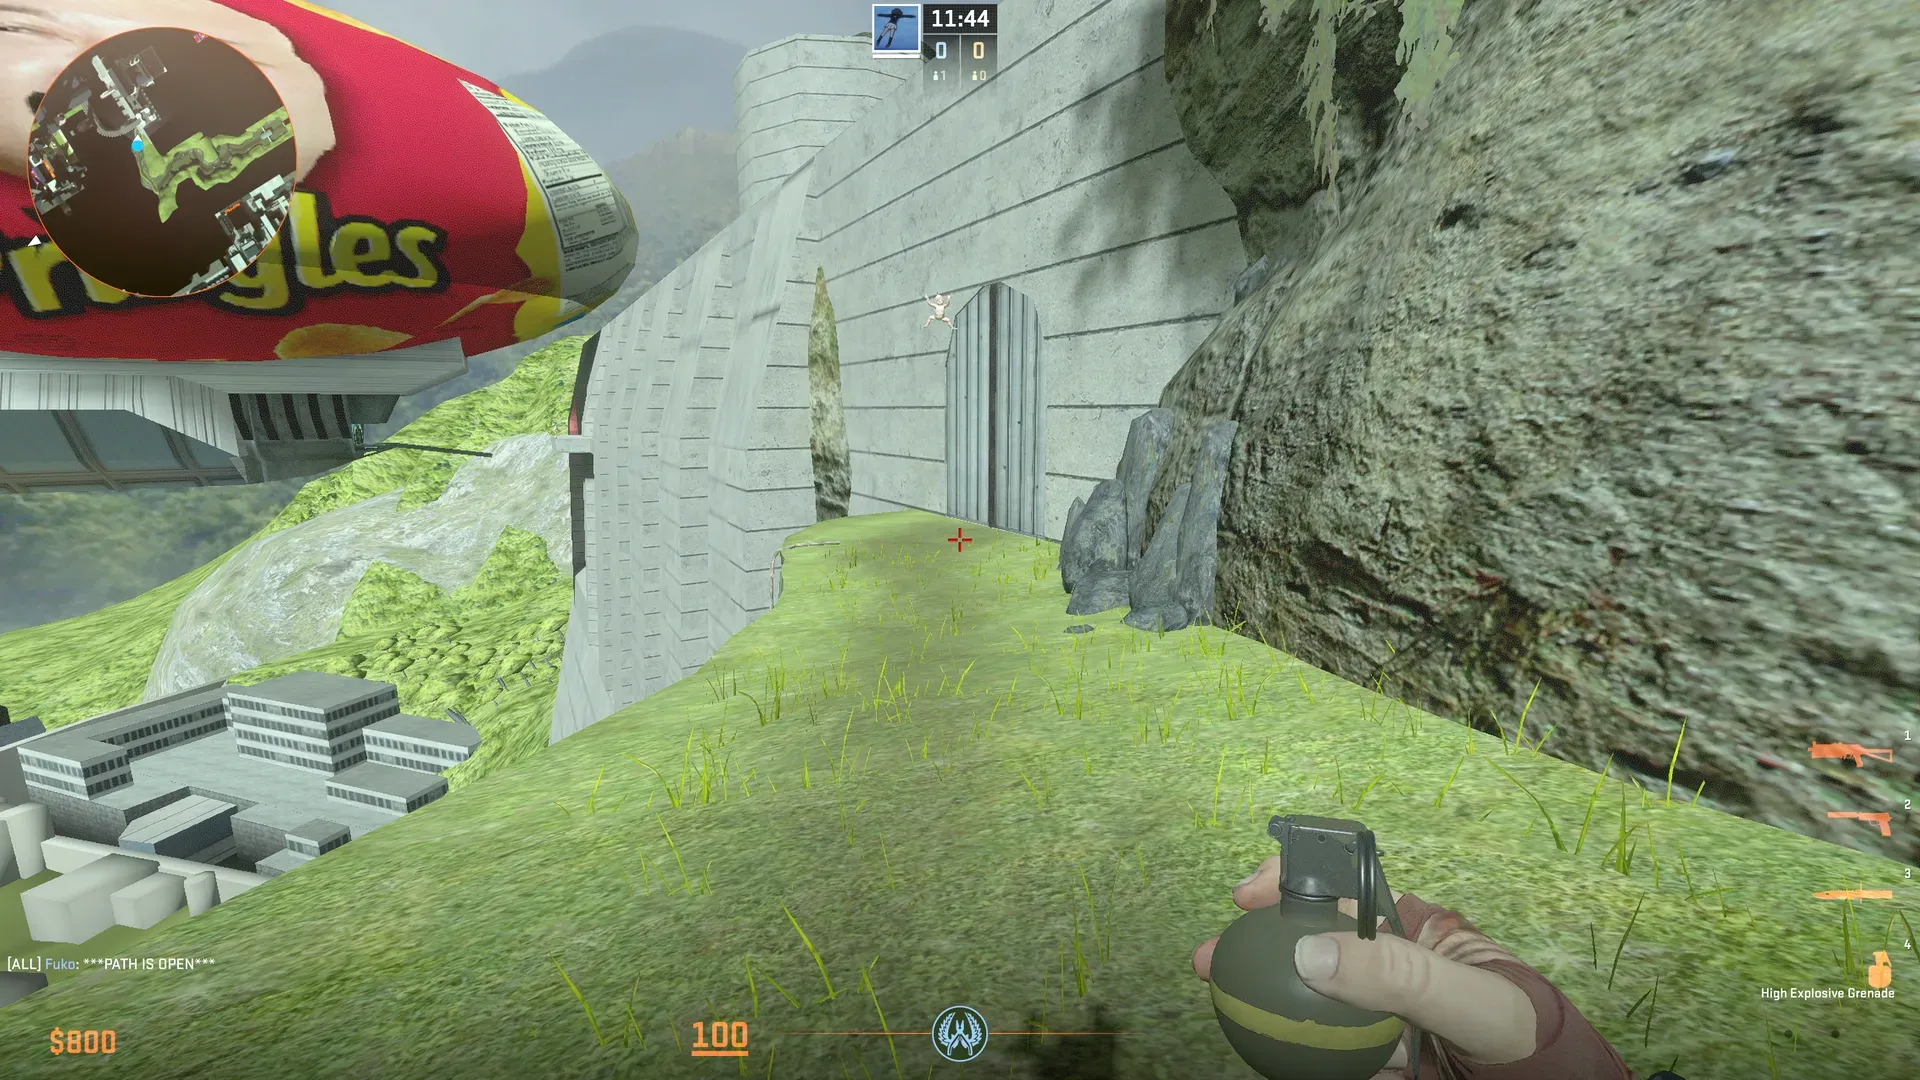
Section titled “Concrete/Indoor section”Fall back all the way to the next defense by hugging the right, walking up the ramp, Turn left and then surf to the end. If you are comfortable doing so you may instead hug the left side through the door and complete the jumps to get to the end as well.
Zombies will be taking both sections. Be aware that there is a Platform in the middle of the two paths that humans will need to use after defending. Usually zombies will not make it to the platform fast enough to make use of it, but ensure that zombies are shot off if any make it on.
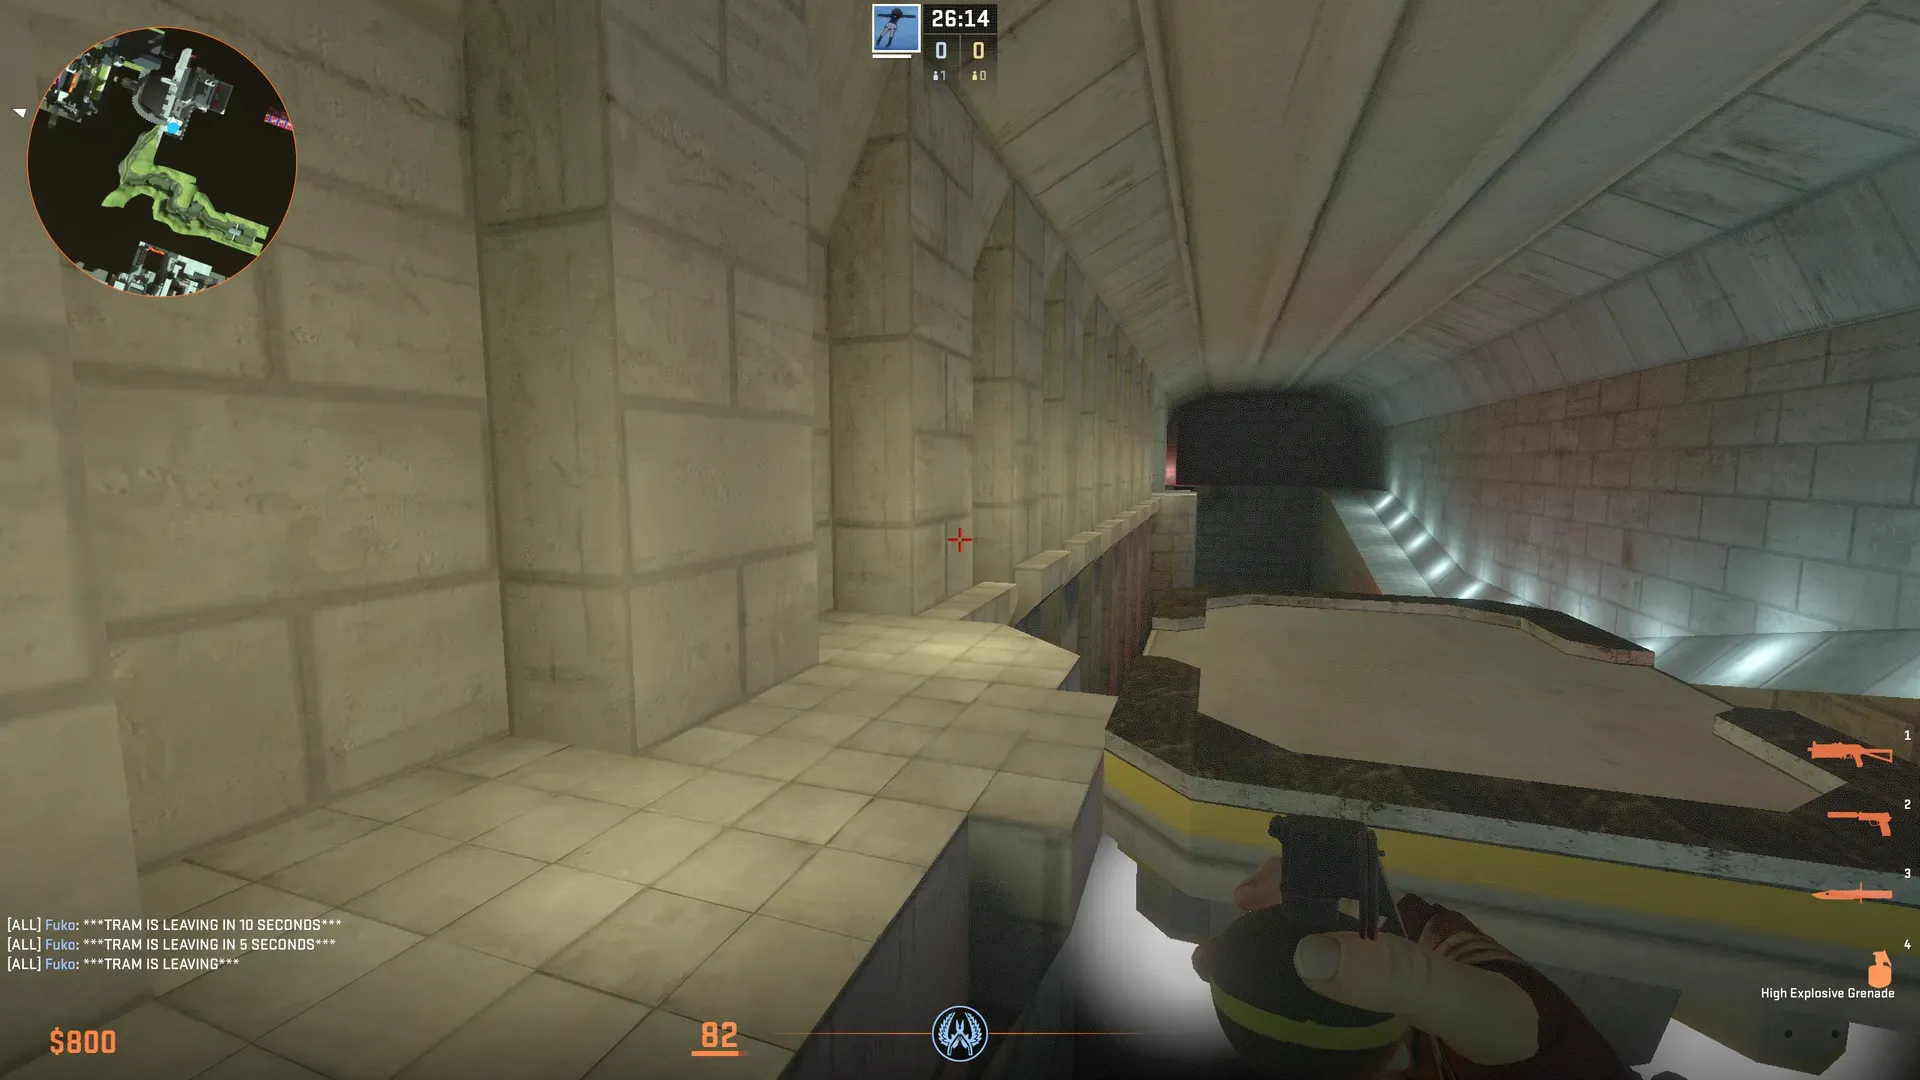
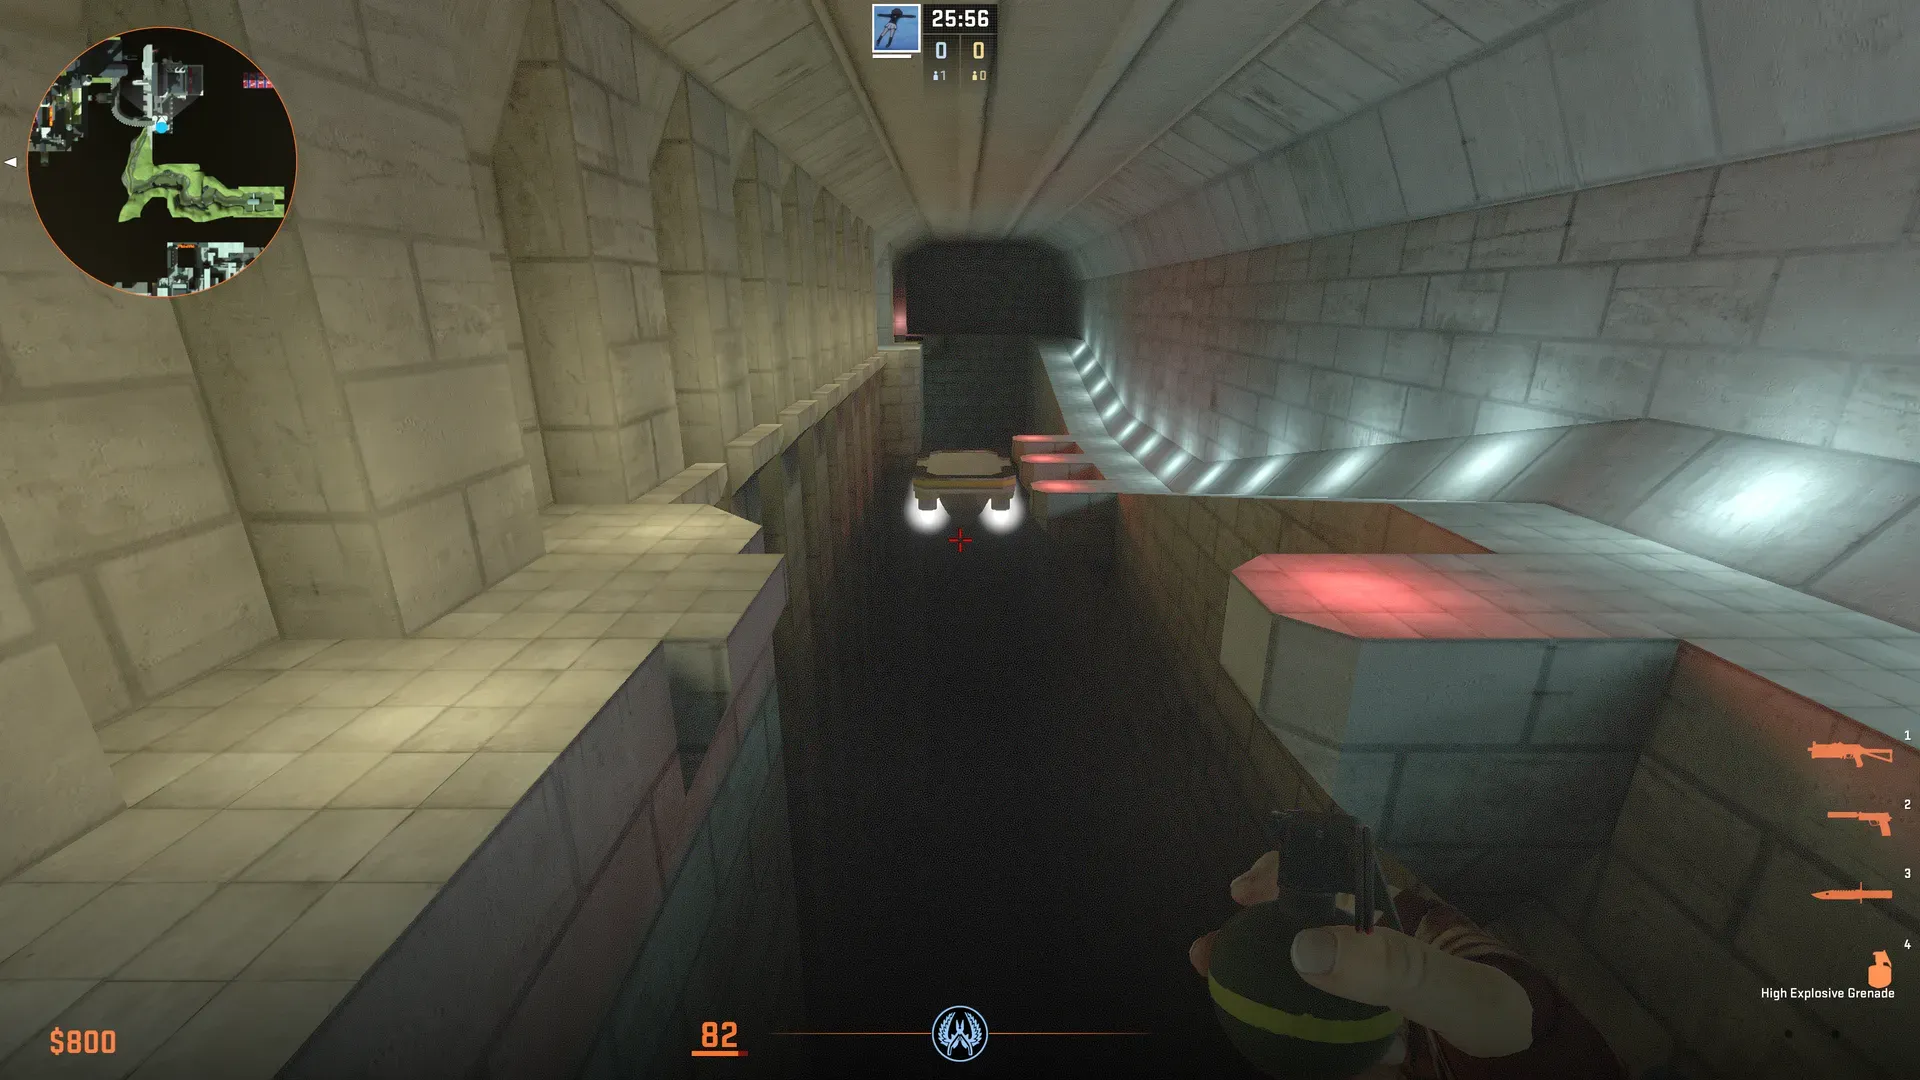
Defend at the end of the surf until the platform makes it all the way to bridge the gap between the surf Path and the jumps path. At this point humans must jump onto the platform and ride it to the next part.
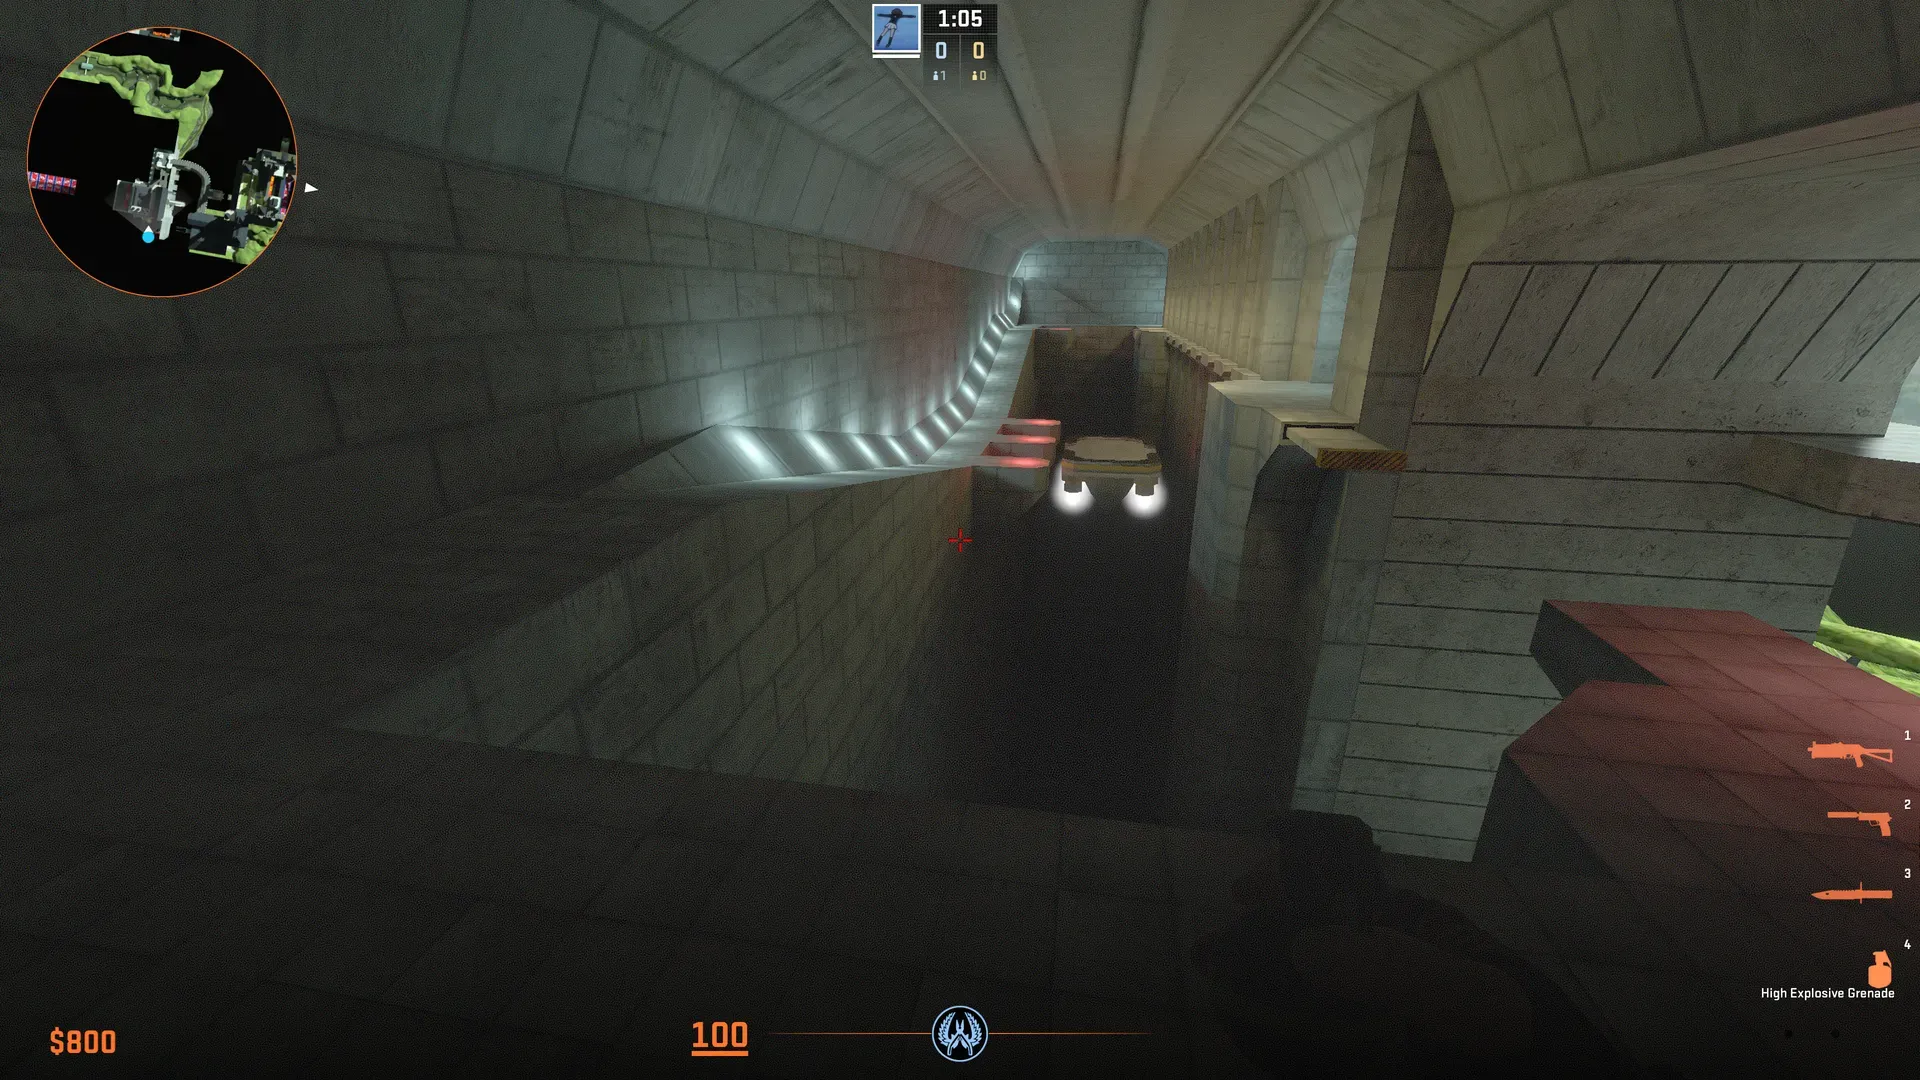
By now zombies are likely close, so proper defense on the platform is important. While the humans are riding the platform And shooting zombies, be sure to pre-fire the left and right paths that zombies can take because they can use the cover to get close enough to jump on.
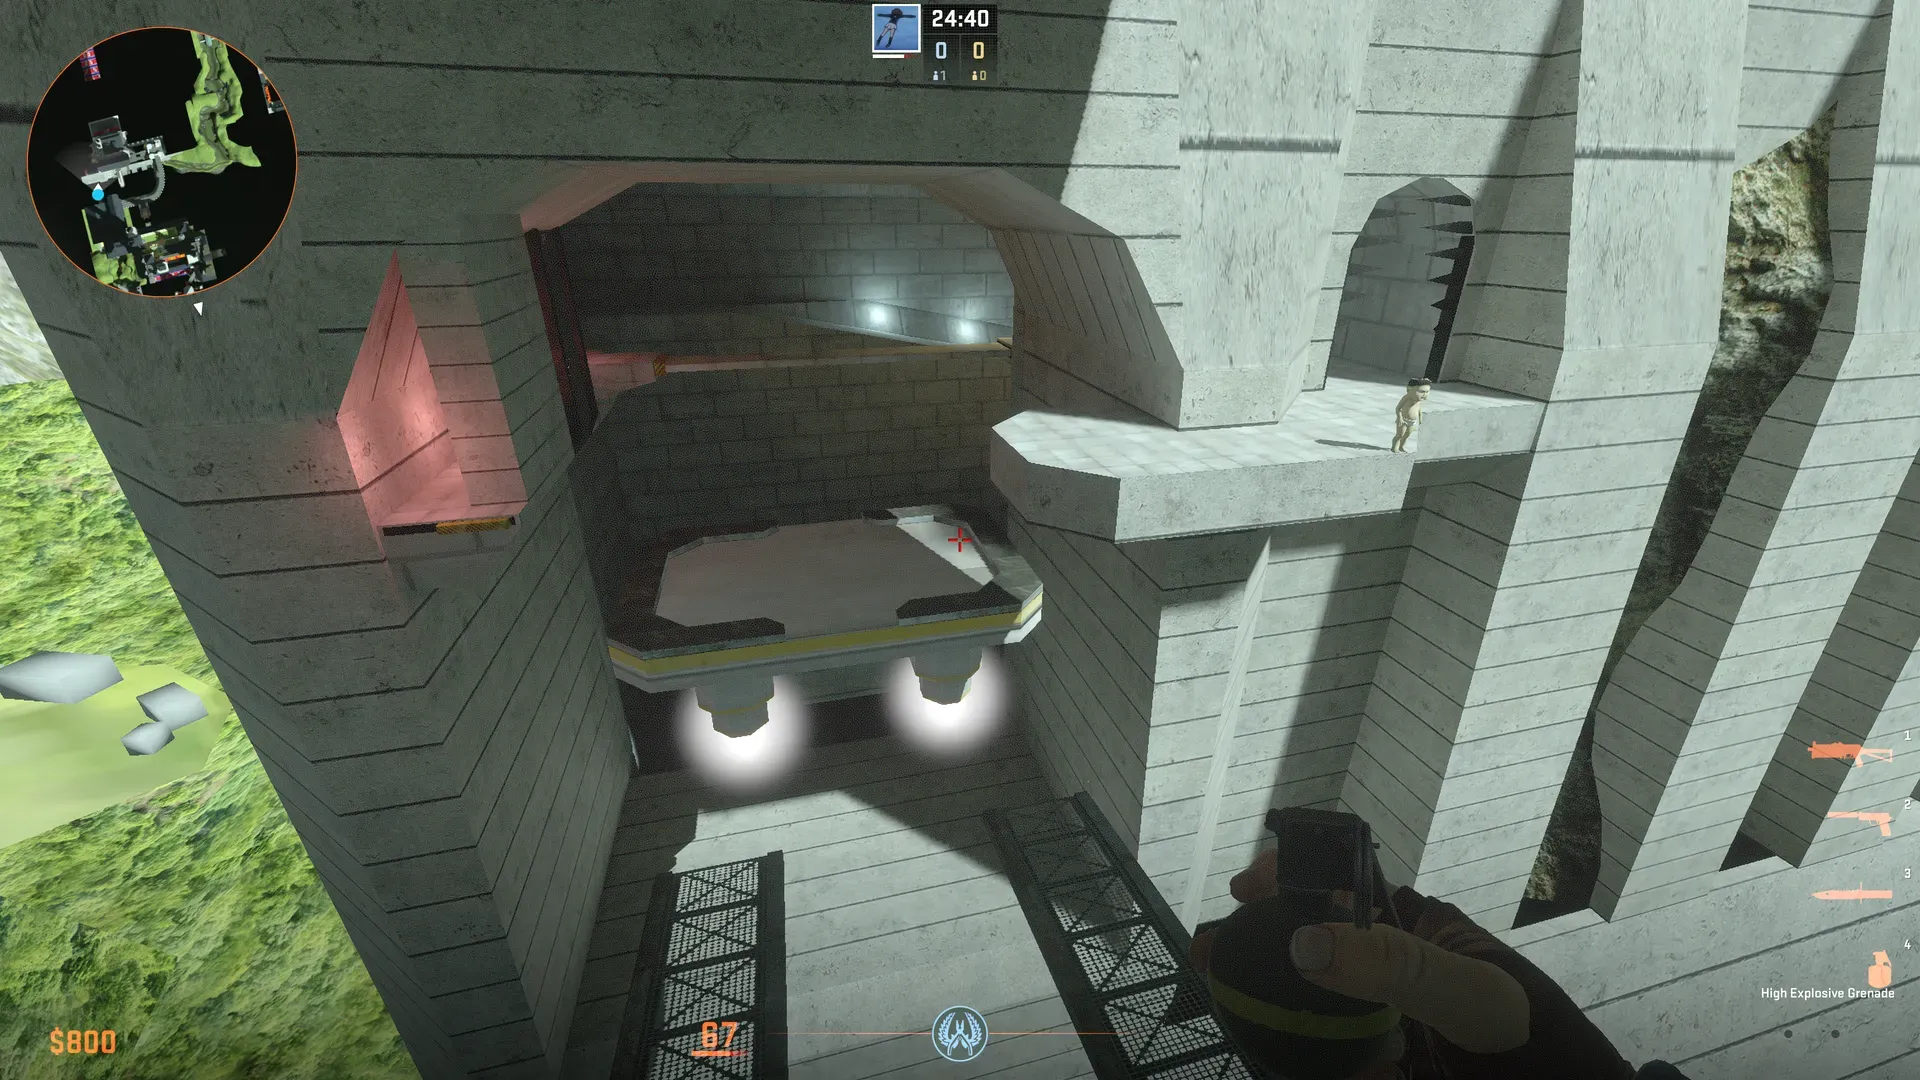
After a long defense the platform should be close enough to two ramps so that humans can jump on to them. Quickly jump on to one of the two ramps and door hug. Both of the doors in front of you Will open simultaneously into a ship, allowing humans inside of an airlock with a second set of doors.
Continue defending if any zombies made it behind you, Until the second set of doors open quickly exit the second set of doors But do not run back. Zombies will teleport inside of the airlock and you must defend until the next door opens Only one person needs to go back to trigger.
There is also an NPC inside the second set of airlock doors to the right you must kill.
Ideally humans continue defending until the next door is fully open and then they can back up. However, it’s also possible to defend past the split section where the airlocks are and instead defend in the glass section of the ship you are in, in the case that zombies have broken out Of one of the airlocks.
Water/Puzzle section (Final)
Section titled “Water/Puzzle section (Final)”
Water/Puzzle section (Final)
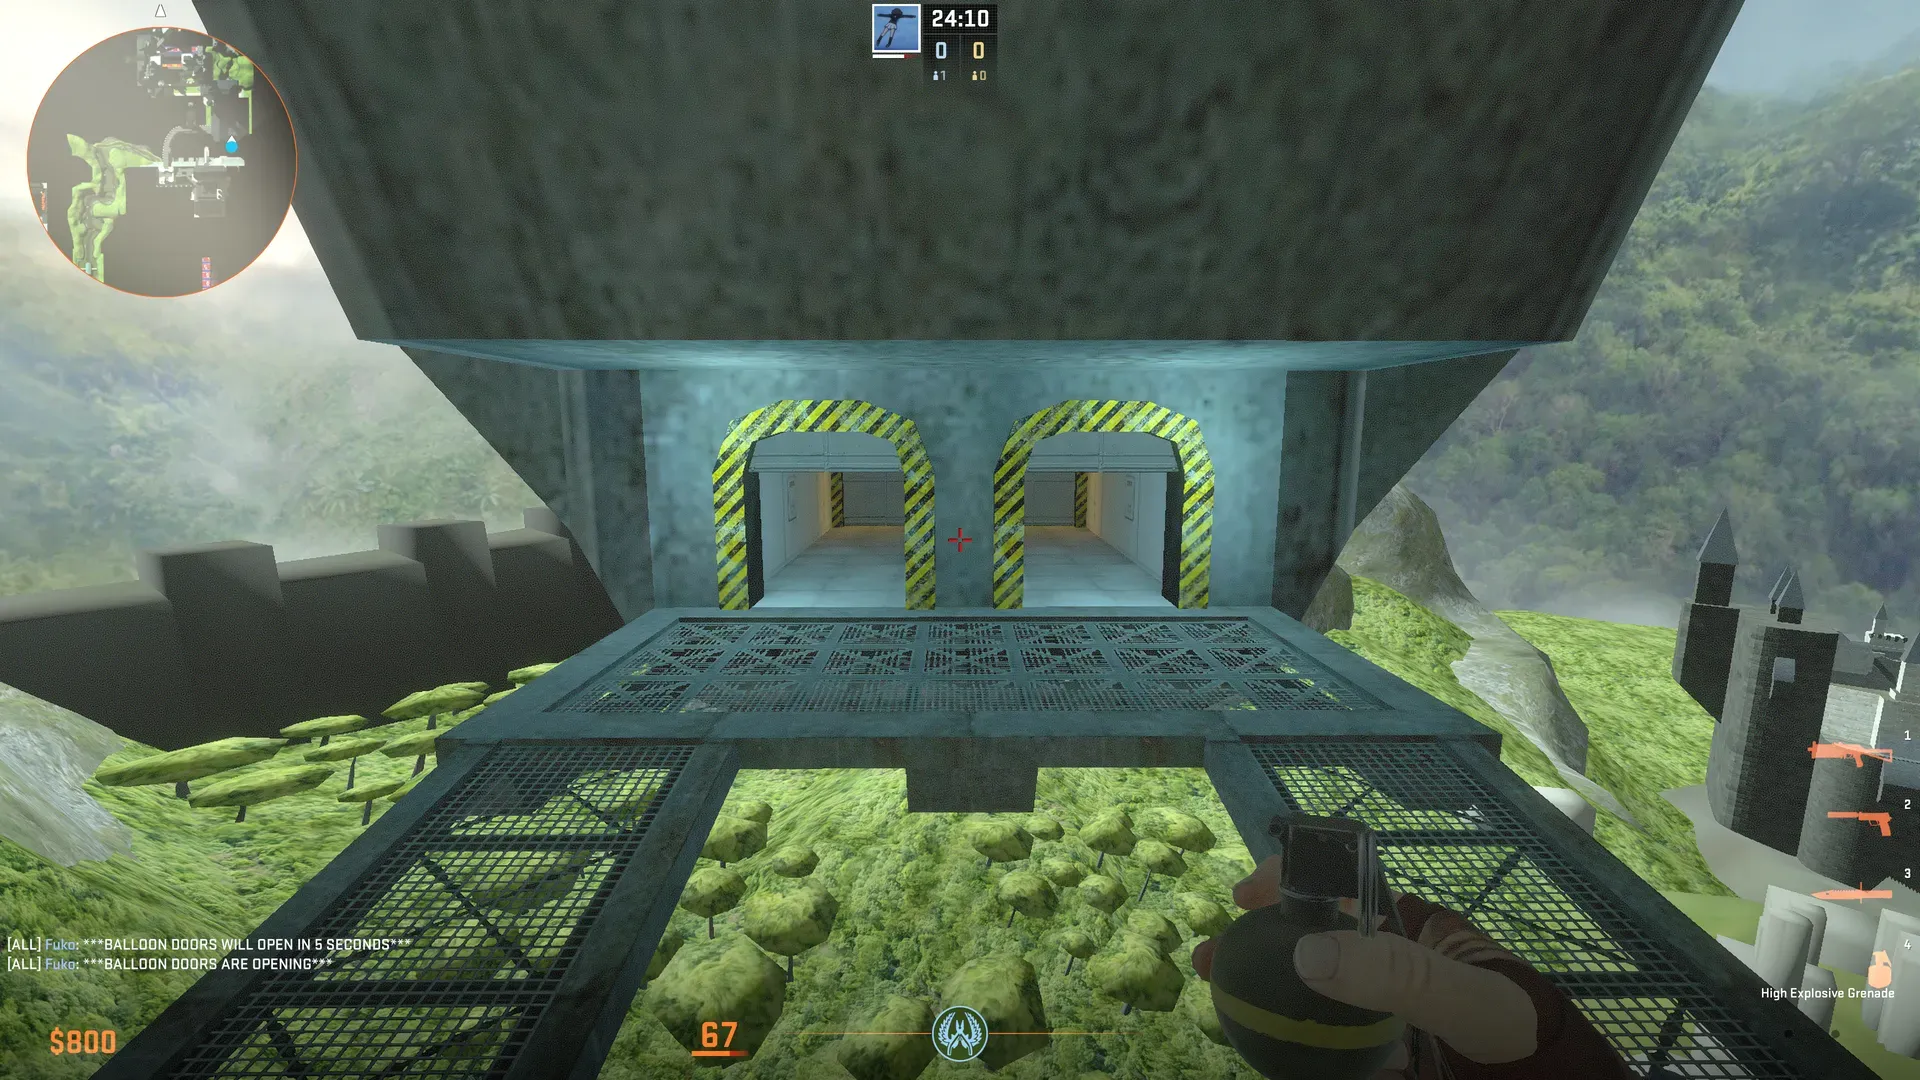
Section titled “Water/Puzzle section (Final)”Once the door opens, knife-out and run back. You will drop out of the ship into a large body of water. If you are looking in the same direction that you were just running after falling out of the ship, simply continue swimming forward and climb onto the platform in the water. Only one person needs to trigger the final door, Everyone else needs to defend zombies trying to climb out of the water. This is especially important because, if you do not keep them in the water, they can climb onto an elevator that leads directly to the top of the ramps behind you, from the perspective of humans defending the zombies.


Once the trigger is complete, humans must back up all the way, again making sure to dodge more landmines on the ground, and enter the final door of the section. If the humans were defending at the bottom of the ramp the entire time the door was being triggered, you do not need to over defend. If zombies pushed the humans to the top of the ramps or beyond, you must defend for a bit longer so that zombies do not get inside the final door.
The door will close almost immediately after fully opening so ensure that you are inside. Once inside continue to defend and use all utility to keep zombies out.


Final Door Trigger
Section titled “Final Door Trigger”
Final Door Trigger
Section titled “Final Door Trigger”To open the final door one person must go back all the way To the top of the ramps, dodge more landmines, and then complete a small puzzle to open the final door. On the door will be a handful of words moving around in random directions, sometimes overlapping each other. These words must be shot in order to create the song that goes Ooh Eeh Ooh Ah Aah Ting Tang Walla Walla Bing Bang.
The song being referenced by this can be found here.
One specific call out I will make on this is that the Walla Button needs to be shot twice in a row to fulfill the puzzle. I see many people trying to trigger this for the first time, and they only shoot Walla 1 time.

STAGE COMPLETE
Section titled “ STAGE COMPLETE ”
STAGE COMPLETE
Section titled “ STAGE COMPLETE ”Act 2 - Hail Great Leader!
Section titled “Act 2 - Hail Great Leader!”
Act 2 - Hail Great Leader!
Section titled “Act 2 - Hail Great Leader!”Stage 2 — [Stage name / location]
Section titled “Stage 2 — [Stage name / location]”
Stage 2 — [Stage name / location]
Section titled “Stage 2 — [Stage name / location]”Items & EntWatch
Section titled “Items & EntWatch”List each special item available on this map:
| Item | Effect | Notes |
|---|---|---|
| Item Name | What it does | Who should hold it / when to use it |
If the map has no special items, write “This map has no EntWatch items.”
Recommended Holds & Strats
Section titled “Recommended Holds & Strats”Describe the key holds and strategies for the human team. Include:
- The strongest hold positions per stage
- When to break a hold vs. hold longer
- Any map-specific movement tricks that help
Common Fail Points
Section titled “Common Fail Points”Where and why do teams wipe? List the most common mistakes:
- Stage X hold — teams often break too early when…
- The final stage — …
No video available yet. Contribute one.
Freshness
Section titled “Freshness”| Field | Value |
|---|---|
| Map version tested | |
| Last tested |
If the strategies here are outdated, please open an issue.